Home Remodel Sequencing Challenge
Challenge: Can you arrange these remodeling steps in the logically correct order? Drag the steps from the "Pending" list into the "Project Timeline" to build the perfect renovation sequence.
Pending Steps
Project Timeline (Top to Bottom)
Основные выводы (Key Takeaways)
- Start with structural and "invisible" work (electrical, plumbing, HVAC).
- Work from the top down (ceiling first, then walls, then floors).
- Finish messy work (drywall, painting) before installing cabinetry and flooring.
- Always handle exterior shells and roofing before interior cosmetics to prevent water damage.
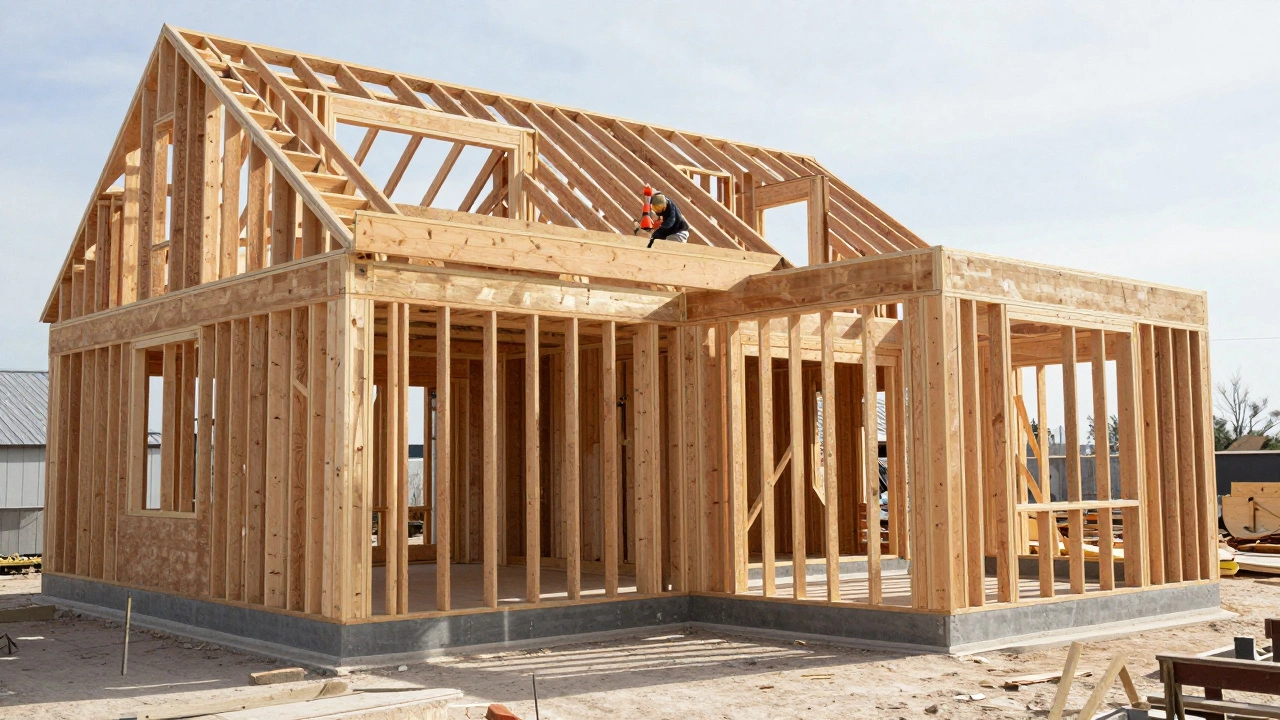
Phase 1: The Skeleton and the Shell
Before you pick out a single tile or paint swatch, you have to ensure the house is actually stable and dry. There is nothing worse than installing a luxury master bath and then discovering a leak in the roof that ruins the ceiling. Start with the Roofing. If your roof is old, replace it first. Rain is the enemy of a remodel; a leak during a renovation can cause thousands of dollars in mold remediation and ruined materials.
Once the shell is secure, move to structural changes. If you're knocking down walls to create an open-concept living area, do it now. This involves Demolition, which is the dirtiest part of the process. You want the dust, debris, and chaos of tearing down walls to happen long before any new materials enter the house. If you're adding a new room or changing the layout, this is where you install Load-Bearing Beams to ensure the house doesn't sag.
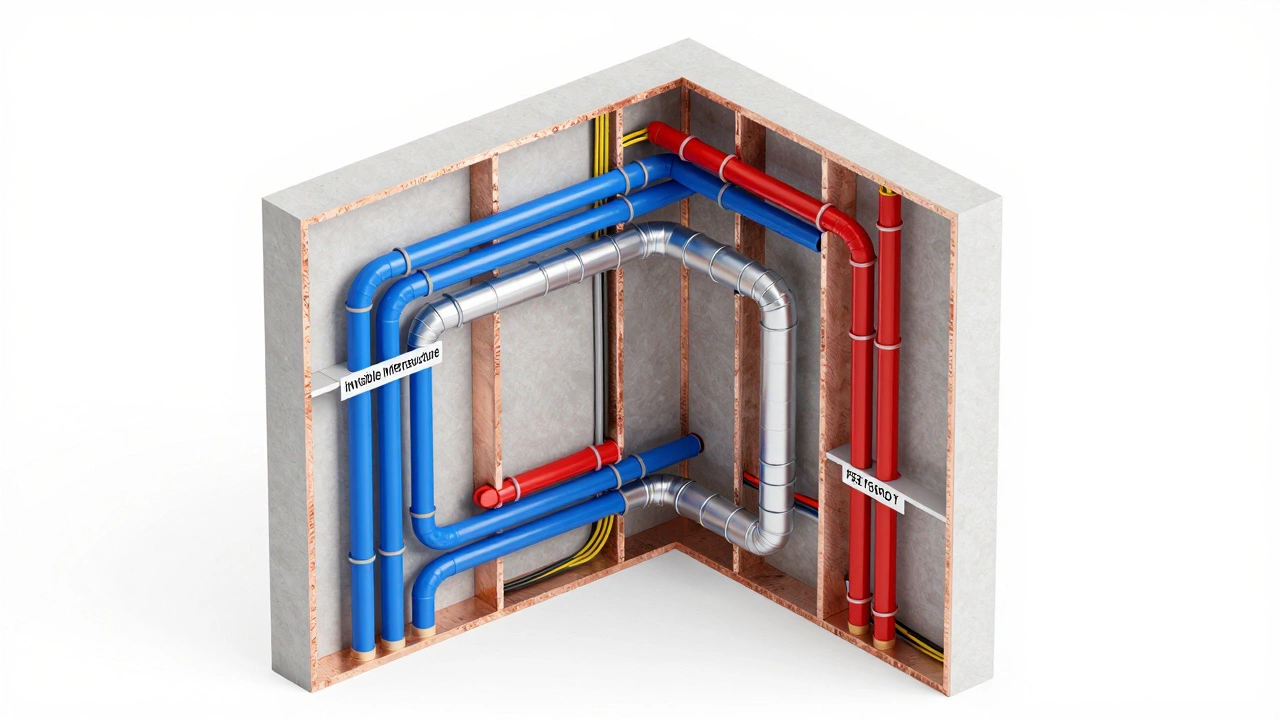
Phase 2: The Invisible Infrastructure
Now that the walls are where you want them, it's time to handle the "rough-ins." This means installing the pipes, wires, and ducts while the walls are open. Imagine the nightmare of having to cut into a freshly painted wall because you forgot to move a light switch or add a dedicated circuit for a new microwave. This is the time to bring in Electricians and Plumbers.
Focus on these three critical systems:
- Electrical: Update your panel and run new wiring for outlets and lighting.
- Plumbing: Replace old galvanized pipes with PEX or copper and set your drain lines.
- HVAC: Install new ductwork or upgrade your Heating, Ventilation, and Air Conditioning system.
Pro tip: Take photos of every wall before the drywall goes up. Knowing exactly where a pipe runs or where a wire is hidden saves you from accidentally drilling through a water line three years from now.
Phase 3: Closing the Walls and Ceiling
Once the rough-ins pass inspection, it's time to seal everything up. The rule here is simple: work from the top down. You start with the ceiling, then move to the walls. Why? Because if you paint the walls first and then scrape the ceiling, you'll end up with white dust and paint splatter all over your fresh wall color.
The process follows this tight loop: Drywall installation, taping, mudding, and sanding. Sanding is an absolute mess-it creates a fine powder that gets into every crevice of the home. This is why you absolutely cannot have your new furniture or flooring installed yet. After sanding, you apply a primer. Priming seals the drywall and ensures your final paint job looks smooth and professional.
| Step | Correct Order | Common Mistake | Consequence of Mistake |
|---|---|---|---|
| Infrastructure | Rough-in Plumbing/Electric | After Drywall | Cutting holes in new walls |
| Surfaces | Paint → Flooring | Flooring → Paint | Paint drips on new floors |
| Fixtures | Cabinets → Countertops | Countertops first | Impossible to mount base cabinets |
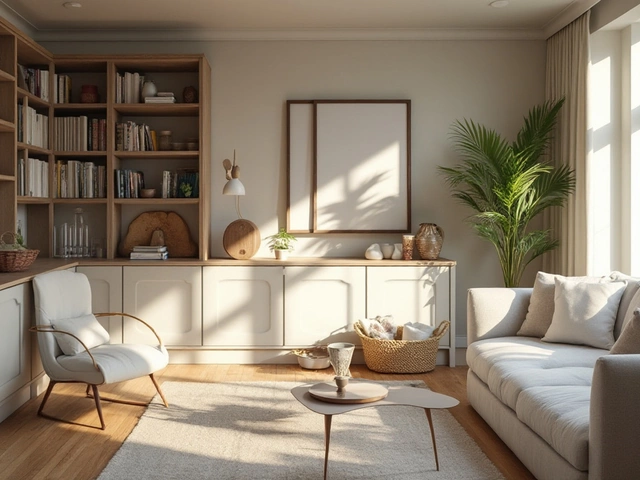
Phase 4: Painting and Heavy Finishes
Now that the mess of the construction phase is over, you can start adding color. Many people think they should paint at the very end, but that's a mistake. Paint your walls and ceilings now. If a painter drips a gallon of "eggshell white" on a subfloor, it doesn't matter. If they drip it on a new Engineered Hardwood floor, it's a disaster.
Once the paint is dry, you move into the installation of fixed elements. This includes Cabinetry in the kitchen and bathrooms. Cabinets should go in before the final flooring in many cases, especially if you're using a floating floor system that needs to slide under the cabinet toes. Once the cabinets are bolted down, you install the countertops. Note that countertops are the "anchor" for your sinks, so they must happen in this specific order.
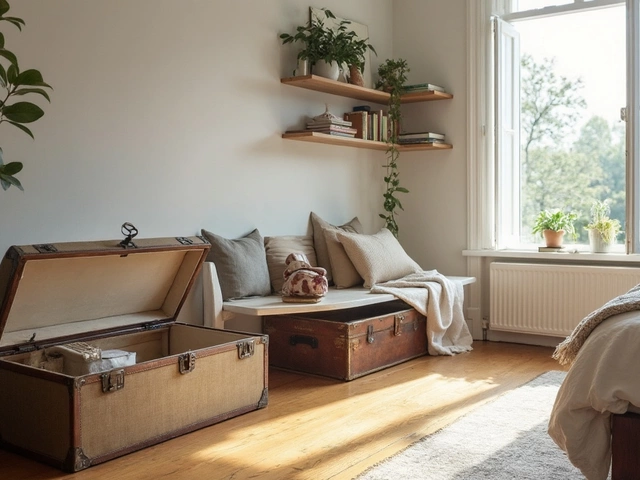
Phase 5: The Finishing Touches
We've finally reached the home stretch. This is where the house starts to feel like a home. First, install the Flooring. By doing this last, you ensure that the installers aren't walking over the floors with boots covered in drywall mud or paint. After the floors are laid and protected with cardboard or drop cloths, you install the baseboards and trim. Trim covers the gap between the wall and the floor, making everything look polished.
The final step is the "trim-out." This is when the electrician comes back to install the actual light fixtures, outlet covers, and switches. The plumber returns to hook up the faucets and toilets. Finally, you bring in your furniture and decor. This is the reward for following the sequence-you're moving your couch into a clean, finished space rather than a construction zone.
Should I do the kitchen or the bathroom first?
If you are doing both, it's usually best to coordinate the rough-ins at the same time to save on contractor visit fees. However, if you must choose one, start with the kitchen. It is typically the most complex room with the most plumbing and electrical needs. Getting the kitchen "functional" first makes living through the rest of the remodel much easier since you'll have a place to prepare food.
Do I install flooring before or after painting?
Always paint first. Painting involves splatters, drips, and the movement of heavy ladders. Even with the best drop cloths, there is a risk of damaging new floors. By painting first, you can be as aggressive as needed with the brushes and rollers without worrying about ruining a $10,000 flooring investment.
When is the best time to install lighting?
Lighting happens in two stages. The wiring (rough-in) happens when the walls are open, before drywall. The actual fixtures (trim-out) happen at the very end, after painting and flooring are complete, to ensure the fixtures stay clean and aren't damaged by construction activity.
Can I skip the priming stage for drywall?
Absolutely not. Raw drywall absorbs paint at a different rate than the joint compound (mud) used on the seams. If you don't use a dedicated drywall primer, you'll see "flashing"-ugly, shiny patches where the mud was. Priming creates a uniform surface for your topcoat.
What happens if I change the layout after drywall is up?
This is a costly mistake. You'll have to pay for demolition, new framing, new electrical/plumbing rerouting, and then redo the drywall and paint for that entire section. This often doubles the cost of that specific room's renovation. Always finalize your blueprints and walk the space with a contractor before the first sheet of drywall is nailed in.
Troubleshooting Common Sequencing Errors
If you've already started and realize you're out of order, don't panic. If you've already installed floors but still need to paint, you can't just throw a sheet over the floor. Use Ram Board or heavy-duty breathable floor protection. This is a thick cardboard-like roll that sticks to the floor and can withstand heavy foot traffic and accidental spills.
If you find yourself needing to add an outlet after the walls are closed, use a "fish tape" to pull wires through the wall cavity to minimize the amount of drywall you have to cut. Once the wire is in, use a small patch kit and a sanding block to blend the repair before applying a dab of matching paint. The key to a professional finish is always in the preparation and the order of operations.