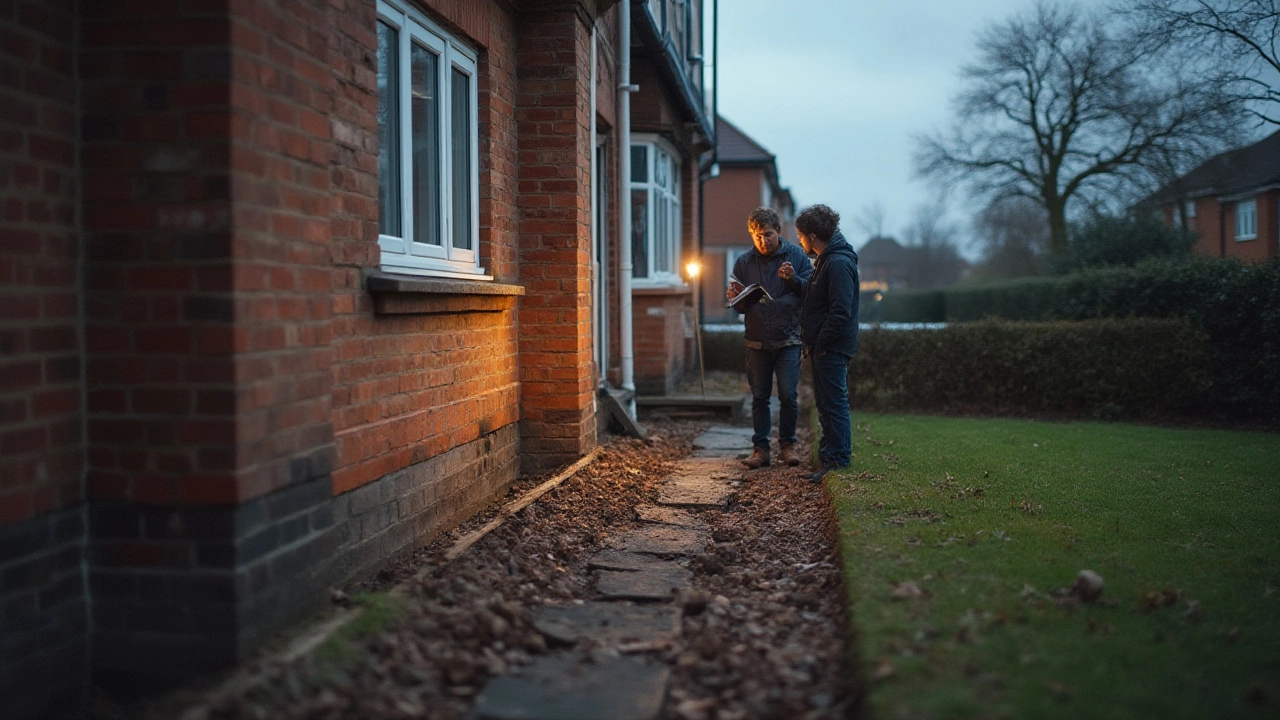
Picture this: You’re walking down into your basement on a rainy Vancouver day, juggling laundry, and something catches your eye—a crisp, jagged line snaking its way across the foundation wall. Your chest tightens. You take a few steps closer. It isn’t just a hairline crack running straight down from the window or a harmless chip. It’s a thick, horizontal crack extending several feet. Easy to panic, right? Most of us have heard horror stories about cracks spelling disaster for a home’s structure, but is every horizontal foundation crack a cause for alarm? Stick around, because this topic demands your full attention—ignoring a horizontal crack could mean risking your family’s safety or your home’s value.
What Makes Horizontal Foundation Cracks So Serious
There are cracks, and then there are horizontal foundation cracks. Not all cracks in concrete are created equal. Vertical ones—those running up and down—often just signal normal settlement, which most houses experience. They might not look pretty, but they rarely spell doom. Horizontal cracks, though? These are a different beast. Engineers and inspectors actually consider them one of the most dangerous signs of structural trouble in foundations. Why? Because a horizontal crack isn’t just about surface splitting; it usually means the wall is bowing under pressure, like a dam holding back floodwaters.
Think of your basement wall as the barrier between your living space and a massive, forceful wedge of wet, heavy soil. Here in Vancouver, we get a lot of rain—take 2023, when total rainfall in Metro Vancouver topped 1,158 mm according to Environment Canada, about 20% above average. Wet soil equals extra weight and pressure pushing against foundation walls. If that pressure gets high enough, it can literally bend or even break a concrete wall. That’s exactly why horizontal cracks appear: the wall is losing its battle, starting to bow or bulge, and that straight horizontal line is the beginning of real, potentially catastrophic trouble.
Here’s a myth worth busting, though: not every long crack is dangerous in itself. What matters most is the shape, width, and whether it's shifting. A textbook-warning sign is a horizontal crack wider than 1/4 inch (about the thickness of a pencil) or one that’s paired with visible bulging, water seepage, or shifting. If you run your finger along the crack and feel one side is higher than the other, that’s bad news. And if you notice moisture leaking in, or white chalky stains (those are efflorescence—mineral deposits left behind by evaporating water), you’re likely dealing with water pressure against the wall, not just harmless shrinkage.
The cost of ignoring horizontal cracks? In a best-case scenario, you might end up with a musty, wet basement and some ruined drywall. Worst case? Foundation collapse, which can destroy a home’s structural support and lead to repairs running well into six figures. According to the Canadian Association of Home & Property Inspectors, horizontal cracks in poured concrete or block walls should prompt immediate investigation by a structural engineer. Why not err on the safe side?
Let’s look at some specific numbers:
| Crack Type | Common Cause | Immediate Risk Level | Typical Repair Cost (CAD) |
|---|---|---|---|
| Vertical (narrow, less than 1/8 inch) | Normal Settlement | Low | $300 - $1,500 |
| Diagonal (widens at one end) | Foundation Movement | Medium | $2,000 - $5,000 |
| Horizontal (wider than 1/4 inch) | Soil Pressure, Water | High | $10,000 - $50,000+ |
So, why do horizontal cracks tend to show up in older homes? Sometimes it’s the materials—cinder block walls are more vulnerable than poured concrete. But even new homes are at risk if the landscaping isn’t right, if the soil stays wet all year, or if there’s heavy construction nearby shaking up the area. Poor drainage is a classic culprit; blocked gutters, improper grading, or missing downspout extensions can soak the soil next to your house, adding even more pressure to the walls.
One more tip that can save you trouble down the road: keep track of any cracks in a simple log. Take pictures with your phone, mark the ends with a pencil, and measure the width every month. If you see the crack growing, especially horizontally, that’s a red flag. And if you hear popping or creaking in your basement walls after heavy rain, don’t brush it off. These sounds could be your wall stressing under new pressure. The faster you notice changes, the cheaper your repair could be.

How to Check for Structural Problems and Warning Signs
You don’t need to be an engineer to spot the warning signals of a serious foundation issue. Trust your senses and use a few simple tools: a flashlight, a measuring tape, and a notepad (or your phone’s camera roll). Walk around the basement slowly. Look at every part of each wall, especially near windows, corners, and along the seams where the wall meets the floor. Horizontal cracks that stretch for several feet, with more than a hairline width, should set off alarm bells right away.
Beyond the obvious, here are some subtle clues that your home may be in trouble:
- Sticking doors or windows on the basement or the first floor—these can mean the walls are no longer straight.
- Uneven or sinking floors, especially near the cracks.
- Gaps forming above doors or in corners where the drywall pulls away from framing.
- Water leaks or damp patches after rain, even if they seem minor.
- Mold, mildew, or that familiar, musty basement smell—persistent dampness means foundation water intrusion.
Here’s an interesting fact: in a survey of Canadian home inspectors, more than 70% agreed that untreated horizontal cracks were the most common reason behind major basement renovations. A crack that goes ignored for just one winter could double in width if water enters, freezes, and expands inside the wall.
If you want to check a crack’s width, try this: slide a standard credit card (about 0.03 inches thick) into the crack. If it fits, measure how deep it goes. Anything more than a third of the card’s length is wide enough to be concerned. Doesn’t fit? Good news for now, but keep tracking.
Also, remember that not every foundation wall is built the same. Older homes in Vancouver might have stone, cinder block, or even wood foundations—all with different weak points. With cinder blocks, you might notice stair-stepping cracks traveling along the mortar joints; with poured concrete, cracks are usually cleaner and straighter. Either way, water loves finding its way in, so any crack is a potential leak path if not properly sealed or repaired.
Let’s talk about what you can safely do yourself versus where you need a pro. Filling a thin, stable vertical crack with injection epoxy might be a solid DIY project. But if you’re facing a deep or unusually wide horizontal crack—or if there’s wall movement—skip the hardware store patch kits. Call a structural engineer or certified foundation repair specialist. They’ll use laser levels, crack monitors, and maybe even ground-penetrating radar to assess stability. Their fee (usually $400–$900 for a basic inspection in Metro Vancouver) is money well spent if you’re hoping to avoid a $50,000 disaster down the line.
Here’s a real takeaway: The Insurance Bureau of Canada doesn’t cover damage from foundation collapse if it’s linked to poor home maintenance. If you spot a significant horizontal crack, treating it quickly isn’t just smart; it also keeps you in good standing for insurance claims or home resale.
Steps to Fix, Stabilize, and Prevent Horizontal Foundation Cracks
If your stomach sinks when you find a horizontal foundation crack, you’re not alone. The good news is, with the right knowledge, you can act fast before things get worse. First, it’s all about figuring out how severe the damage is. The three things experts look at: crack width, wall movement, and water issues.
Once you’ve documented the crack and ruled out harmless settling, start by calling for a professional inspection. Many companies in Vancouver offer foundation assessments, and a licensed engineer’s report carries real weight if you ever sell or refinance your home. Once you’ve got their take, your next move depends on their recommendations.
Repair options usually fall into one of these categories:
- Carbon Fiber Reinforcement: Thin, nearly invisible carbon fiber straps get epoxied to the wall and anchored at the top and bottom. They keep the wall from bowing further and are a popular solution for minor to moderate cracks.
- Steel I-Beams: Heavy-duty steel beams are braced against the wall and the floor joists above. This stops further bowing and can even straighten the wall slowly over time. These are used for more severe movement.
- Wall Anchors: Long steel rods get drilled into the soil outside the foundation, then attached to large inside plates. By tightening the anchors, the technician can pull the wall back toward its original position. This is a big job, but it can often stop and reverse wall movement.
- Epoxy or Polyurethane Injection: If there’s no bowing or shifting, a pro can fill the crack with a strong, flexible sealant. This keeps water out, though it won’t fix structural problems if the wall is already moving.
- Waterproofing: This means adding interior or exterior drains, grading the soil away from your house, and fixing downspouts—all key to keeping water pressure off your foundation in the long term.
Here’s what you might pay in Metro Vancouver, based on data from several local contractors as of 2024:
| Repair Method | Typical Cost (CAD) |
|---|---|
| Carbon Fiber Reinforcement | $3,000 - $6,000 / wall |
| Steel I-Beams | $4,500 - $12,000 / wall |
| Wall Anchors | $8,000 - $20,000 / wall |
| Crack Injection | $800 - $1,800 / crack |
| Interior or Exterior Waterproofing | $6,000 - $15,000 / side |
That’s not pocket change, so how can you prevent cracks in the first place? Most fixes come down to moisture control. Keep gutters clean and add extensions to direct water far from your foundation. Check the grading around your house—soil should slope away so rainwater runs off instead of pooling. Avoid large trees with deep root systems near the foundation, since roots can shift soil and add pressure. If you’re planning new landscaping or renovation, always opt for materials and techniques that promote runoff and stability.
If your neighbourhood sees a lot of heavy rain or snowmelt, installing a sump pump and French drain helps reduce the risk of water pressure building up behind your basement walls. As weird as it sounds, moving your downspouts even three feet further from the house can make a world of difference.
If you’re handy, you can also check for suspicious cracks in spring and fall. Use a little expanding foam to fill small gaps near windows, and mark anything that looks new. Store those photos somewhere safe—you’ll thank yourself if you ever need to show before-and-after shots to a contractor or insurance adjuster.
It can be tempting to ignore a crack once you’ve patched it, but resist that urge. Cracks can reopen, and new ones can form, especially after extreme weather. So long as you keep an eye on your basement and act at the first sign of trouble, you’ll sleep much better. Foundation damage is scary, but it’s fixable—so take it seriously and don’t wait until it’s a headline in your home inspection report.