Wall-to-Stand Conversion Planner
Enter your TV specs to verify stand compatibility and get a tailored preparation checklist before you start the conversion.
You just moved into a new apartment or decided that the living room layout needs a major overhaul. The big problem? Your expensive flat-screen TV is currently bolted to the drywall, and you need it sitting on a piece of furniture instead. It sounds like a nightmare involving drilling, patching holes, and potentially cracking your panel, but it’s actually a manageable DIY project if you follow the right sequence.
The core challenge isn't moving the TV; it's safely detaching it from the wall mount bracket without damaging the rear housing. Most modern TVs use a standardized connection system called VESA mounting standard, which makes this transition possible for almost any model manufactured in the last decade. Whether you are switching to a low-profile media console or a rolling cart, the goal is the same: secure, stable, and aesthetically pleasing placement.
Quick Summary / Key Takeaways
- Safety first: Always have two people handle the TV during the transfer phase to prevent accidental drops or cracks.
- Check VESA patterns: Ensure your new stand has a compatible base plate or allows for the attachment of a standalone VESA adapter.
- Patch the wall: Use spackle for small screw holes and a patch kit for larger anchor points before painting.
- Cable management: This is your chance to organize power cords and HDMI cables using clips or channels, which was impossible when the TV was mounted high up.
- Weight distribution: Verify that your chosen stand can support the weight of your specific TV model, especially if it is over 65 inches.
Preparation: What You Need Before Starting
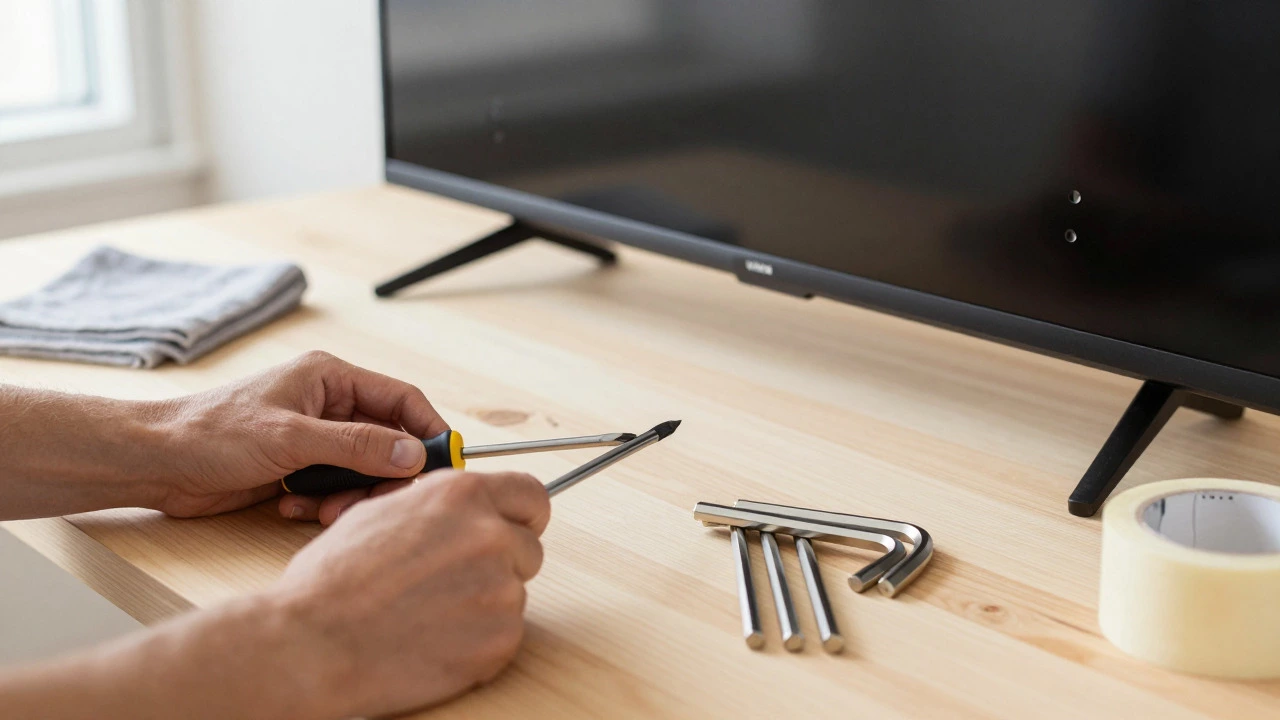
Before you touch a single screw, gather your tools. Working with random hardware often leads to stripped screws or lost pieces. You will need a Phillips-head screwdriver (usually #2 size), a set of hex keys (Allen wrenches) if your mount uses them, a soft microfiber cloth, and painter's tape. If you plan to patch the wall immediately, grab some spackle, a putty knife, and sandpaper.
Measure your TV carefully. Note the width, height, depth, and most importantly, the weight. Check the label on the back of the TV or look up the exact model number online to find the manufacturer's specifications. This data is critical because not all stands are created equal. A lightweight 40-inch TV is easy to move, but a 75-inch OLED panel requires careful handling due to its fragile glass surface and significant mass.
Clear the area where the TV will sit. If you are moving it to a media unit, ensure the unit is level. An uneven surface can cause the TV to tilt slightly, which might stress the internal components over time. Place a thick blanket or carpet on the floor near the wall to catch the TV if it slips during the detachment process.
Step 1: Safely Detach the TV from the Wall Mount
This is the highest-risk part of the job. Never work alone on a TV larger than 32 inches. Have a helper hold the TV by its sides, supporting the bottom edge firmly. Do not lift it by the top corners unless the design explicitly allows it, as this can bend the frame.
- Locate the release mechanism: Most wall mounts use either a locking lever at the bottom of the bracket or four large screws securing the TV to the plate. If it’s a lever, flip it up while your helper holds the TV steady. If it’s screws, loosen them just enough to break the seal, then unscrew them completely.
- Disconnect cables: Carefully unplug HDMI, power, and audio cables. Label them with masking tape so you know which one goes where later. This saves you from guessing games when you reconnect everything.
- Lift and pivot: Once detached, slowly lower the TV onto the prepared blanket. Keep the screen facing down or sideways to avoid dust accumulation on the glass, but be mindful of the bezel edges.
If your mount is flush against the wall, you may need to gently pull the TV outward. Avoid yanking hard, as this can rip the plastic rear cover off. If resistance is high, check for hidden safety pins or additional bolts behind the main bracket.
Step 2: Prepare the New Stand for Installation
Not every TV stand comes with a built-in VESA plate. Some have a simple tray, others have pre-drilled holes for specific brands, and many require you to attach a separate metal plate to the back of the TV.
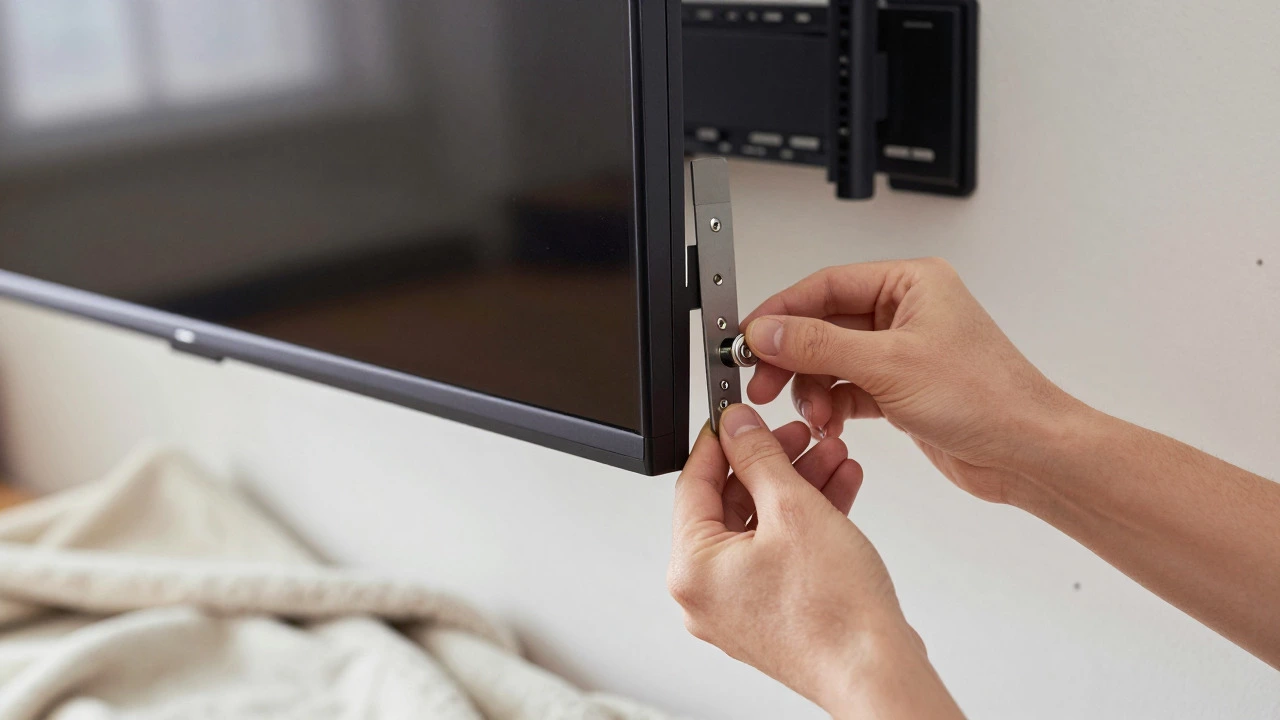
Check the manual for your new stand. If it includes a universal VESA adapter, align it with the four screw holes on the back of your TV. These holes follow the VESA International Display Manufacturing Association standards, typically ranging from 100x100mm for small screens to 400x400mm for large ones. Insert the screws provided with the stand (or reuse the original ones if they fit) and tighten them securely. Do not overtighten, as this can crack the plastic backing around the holes.
If your stand is a solid wood or metal cabinet without mounting holes, you will need a third-party TV stand adapter. These are inexpensive metal plates that clamp or screw onto the back of the TV and provide a flat surface to rest on. Make sure the adapter matches your VESA pattern exactly. A mismatched adapter can leave gaps, causing the TV to wobble or sit crookedly.
Step 3: Position the TV on the Stand
With the VESA plate attached to the TV, coordinate with your helper again. Lift the TV vertically and place it onto the stand's base. For stands with slots or rails, slide the TV into position until it clicks or sits flush. For open-top cabinets, simply lower the TV onto the designated shelf.
Ensure the TV is centered. Use a level tool across the front of the TV to confirm it is perfectly horizontal. If it looks tilted, adjust the feet or shims underneath the stand. Many modern stands have adjustable feet that allow you to compensate for uneven floors. Tighten these after positioning the TV to lock everything in place.
Double-check stability by gently pushing the side of the TV. It should feel solid, with no rocking or sliding. If it moves, add rubber pads between the TV base and the stand surface to increase friction and prevent shifting.
Step 4: Cable Management and Final Setup
Now that the TV is accessible, tackle the cable mess. When mounted on the wall, cables were often hidden behind the TV or routed through the wall. Now, they are exposed. Use cable clips or adhesive hooks to route the power cord along the side of the stand or through a grommet hole if available. Group HDMI and audio cables together using Velcro ties to keep them tidy.
Test all connections. Plug in the power, turn on the TV, and verify each input source. Check the remote control functionality to ensure there are no obstructions blocking the infrared sensor. If you use external speakers or soundbars, position them now to test audio output levels.
Repairing the Wall: Closing Up the Old Mount
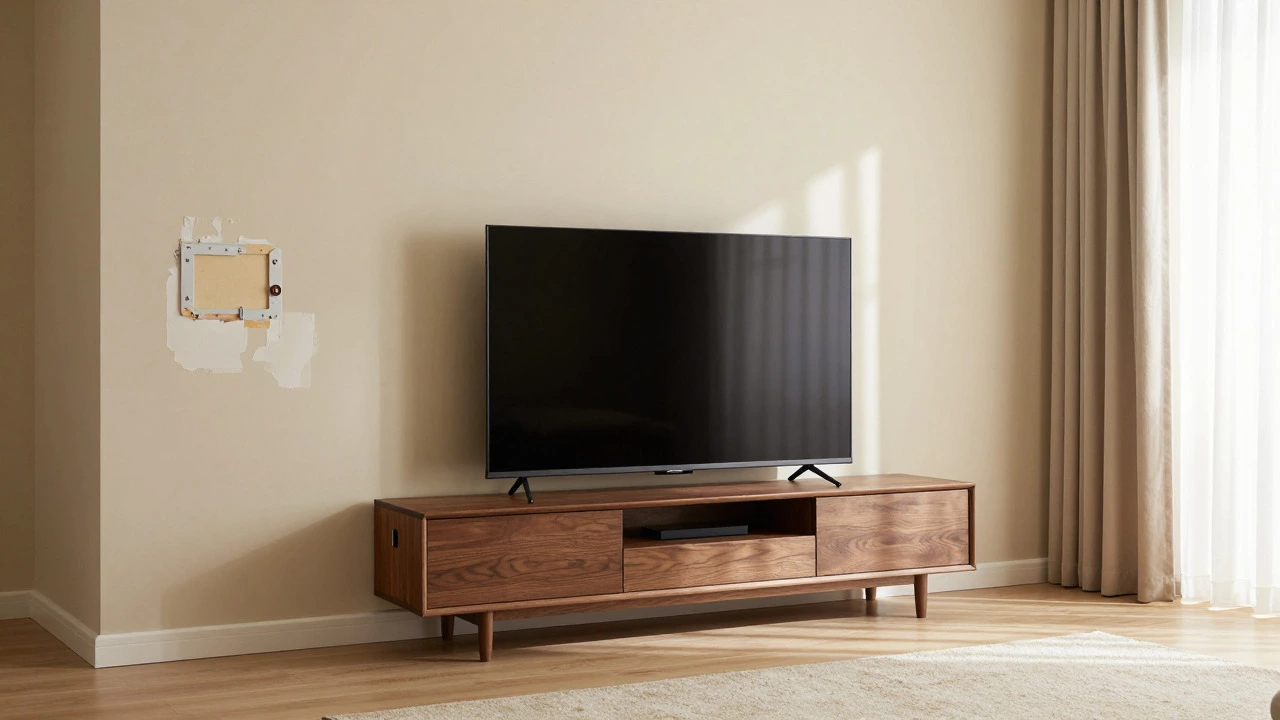
You don’t have to do this immediately, but leaving large holes in the wall looks unfinished. Start by removing the remaining bracket from the wall. Use a drill to remove any drywall anchors that were used to secure the bracket. Pull out the screws and twist them to extract the anchors.
For small screw holes, apply spackle with a putty knife. Smooth it over the hole and let it dry completely. Sand it down until flush with the surrounding wall. For larger holes where the bracket was anchored, you may need a mesh patch or a self-adhesive foam patch. Cut the patch to size, press it into the hole, and cover with spackle. After drying, sand, prime, and paint to match the existing wall color.
If the damage is extensive or you’re unsure about structural integrity, consider hiring a professional handyman. They can ensure the wall is properly reinforced, which is important if you ever decide to hang heavy art or shelves in that spot later.
Comparison: Wall Mount vs. TV Stand
| Feature | Wall Mount | TV Stand |
|---|---|---|
| Space Efficiency | High (saves floor space) | Moderate (requires floor footprint) |
| Flexibility | Low (fixed position) | High (movable, reconfigurable) |
| Installation Difficulty | High (drilling, leveling) | Low (assembly, placement) |
| Cable Access | Difficult (hidden behind TV) | Easy (accessible from back/sides) |
| Aesthetic Impact | Sleek, minimalist | Traditional, functional storage |
| Risk of Damage | Higher during installation/removal | Lower (no drilling required) |
Choosing between the two often depends on your lifestyle. If you rent or move frequently, a stand is far more practical. If you own your home and want a permanent, clean look, a wall mount remains superior. However, converting from wall to stand gives you the best of both worlds: the flexibility of a stand with the knowledge that you can always go back if needed.
Common Mistakes to Avoid
One frequent error is ignoring the TV’s depth. Some wall-mounted TVs sit very close to the wall, while their stand adapters might protrude significantly. Measure the distance from the wall to the back of the TV when mounted, and compare it to the clearance behind your new stand. If the stand is shallow, the TV might stick out awkwardly or hit the wall if the stand is pushed too close.
Another mistake is reusing damaged screws. If the original screws are stripped or bent, replace them with new ones of the correct length. Too long, and they might puncture internal components; too short, and the TV won’t be secure. Always consult the TV manual for recommended screw lengths, usually specified in millimeters.
Finally, don’t forget ventilation. While less critical for LED/LCD panels than old CRTs, modern TVs still generate heat. Ensure the back of the TV has at least 2-3 inches of clearance from the stand’s back panel or wall to allow proper airflow. Overheating can shorten the lifespan of your display.
Frequently Asked Questions
Do I need to buy a new VESA plate for my stand?
Not necessarily. If your new stand includes a universal adapter, use that. If not, check if the stand has pre-drilled holes matching your TV’s VESA pattern. If neither applies, purchase a standalone VESA adapter that fits your TV’s specific dimensions. These are widely available and inexpensive.
Will removing the wall mount damage my TV?
If done carefully, no. The risk lies in applying uneven pressure or dropping the TV. Using two people and supporting the weight evenly minimizes this risk. Avoid twisting the TV while it’s still attached to the bracket, as this can strain the internal connectors.
How do I hide cables after moving the TV to a stand?
Use cable raceways (trim kits) that attach to the wall or baseboard, or use adhesive cable clips to guide wires along the side of the stand. For a cleaner look, consider a cord organizer box placed behind the TV on the stand shelf to bundle excess length.
Can I use the original wall mount screws on the stand?
Yes, provided they are the correct length and type (typically M4 or M6). Check the thread size and length against the requirements in your TV manual. If the screws are too long, they may poke through the front of the TV; if too short, the connection may be loose.
What if my TV doesn’t have VESA holes?
Most modern flat-screen TVs have VESA holes. If yours doesn’t (rare for models post-2010), you may need a specialized adapter that clamps around the TV frame or attaches to existing non-VESA mounting points. Consult the TV manufacturer’s support team for specific recommendations.