Oiling Furniture: A Practical Guide to Protect and Beautify Your Pieces
When working with oiling furniture, the act of spreading oil onto wood surfaces to nourish, seal, and highlight the natural grain. Also known as oil finish, it creates a breathable barrier that lets wood breathe while resisting stains and scratches. Wood oil, a natural penetrating finish such as linseed, tung, or Danish oil is the core material that does the work. The process encompasses three key actions: protecting the wood, enhancing its color, and extending its lifespan. To achieve that, Furniture finish, the final protective layer applied after oil absorption must be compatible with the chosen oil, otherwise the surface can feel sticky or uneven. Finally, Furniture maintenance, regular cleaning and re‑oiling schedules keeps the benefits alive for years. In short, oiling furniture requires selecting the right wood oil, applying it correctly, and planning ongoing maintenance. Below we’ll walk through the whole journey, so you know exactly what to expect before you start.
Choosing the Right Oil and Applying It Right
The first decision is the type of oil. Linseed oil is cheap and easy to find, but it takes longer to cure and can attract dust during the drying phase. Tung oil offers a tougher film, dries faster, and provides higher water resistance, making it great for kitchen tables or bathroom cabinets. Danish oil is a blend of oil and resin, giving a slightly glossy finish without the need for a topcoat. Once you pick an oil, preparation matters: sand the piece with progressively finer grits, wipe away dust with a tack cloth, and work in a well‑ventilated area. Apply the oil with a lint‑free cloth or natural‑bristle brush, letting it soak for 10‑15 minutes before wiping off excess. Repeat the cycle 2‑4 times depending on wood porosity; denser woods need fewer coats, while softwoods benefit from more. Let each coat dry completely—usually 24‑48 hours—before the next. Safety tip: wear gloves and a mask to avoid skin irritation and inhaling fumes. This method, when followed step by step, ensures the oil penetrates fully, creating a durable, low‑sheen surface that highlights the grain rather than hiding it.
After the final coat, the real work begins: Furniture maintenance, a routine of gentle cleaning, periodic re‑oiling, and timely touch‑ups decides how long the benefits last. Dust with a soft cloth, avoid abrasive cleaners, and use a slightly damp rag for spills—never soak the wood. For high‑traffic pieces, schedule a light re‑oil every 6‑12 months; simply apply a thin layer, let it absorb, and wipe any excess. If you notice the finish becoming dull or water no longer beads, it’s a sign the oil has worn through and needs a fresh application. Compared with polyurethane or lacquer, oil finishes are forgiving: you can sand out imperfections and re‑apply without stripping the whole piece. This flexibility makes oiling ideal for antique restorations, heirloom pieces, and even modern furniture that owners want to keep looking fresh. The articles below dive deeper into specific projects—whether you’re modernizing a dated table, protecting a sideboard, or solving mold issues in storage—so you’ll find step‑by‑step guidance, product recommendations, and troubleshooting tips tailored to every stage of the oiling process.
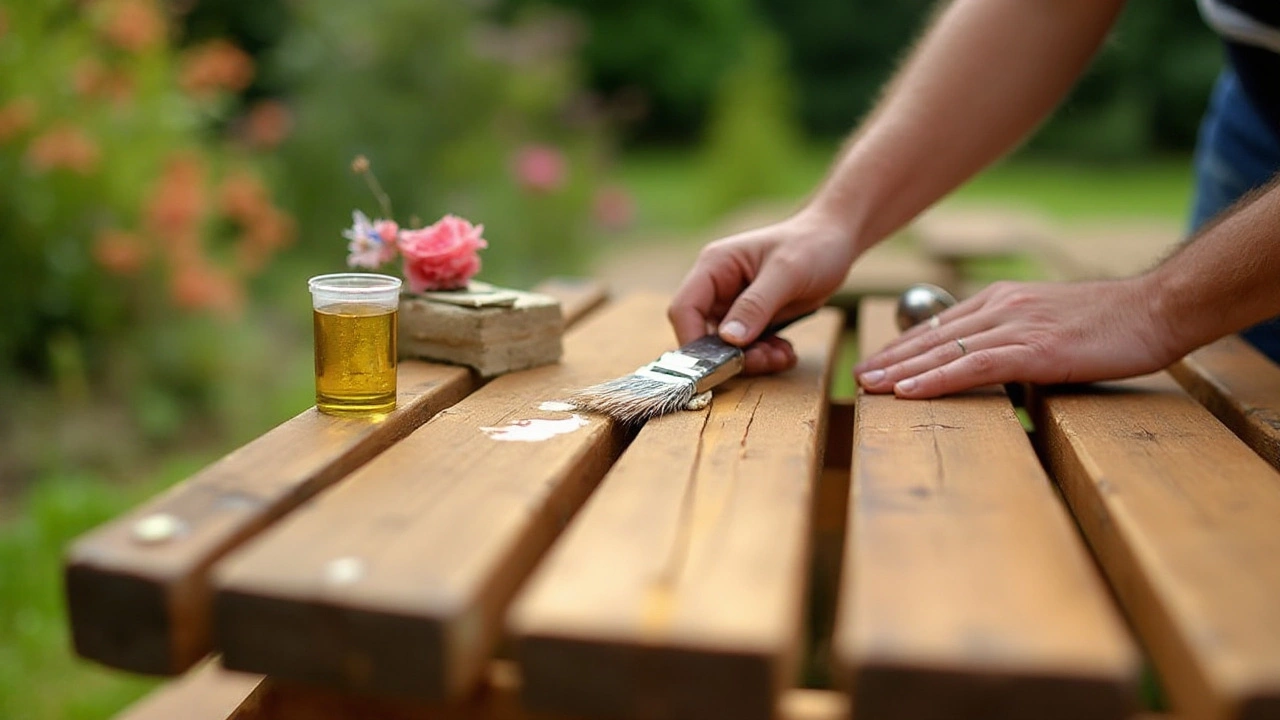
Enhance Your Garden Furniture with Proper Oiling Techniques
Oiling garden furniture can be an essential step in maintaining its beauty and durability. It helps protect wood from environmental damage and can revive its natural luster. The choice of oil and application technique can greatly influence the outcome. By understanding the different types and benefits of oils, you can ensure your garden furniture remains attractive and long-lasting. Explore the reasons, methods, and tips for successfully oiling your outdoor pieces.
full article