Refinish Table – Expert Tips for Restoring Wood Surfaces
When working with refinish table, the process of restoring a wooden tabletop to its original beauty or a brand‑new look. Also known as table restoration, it combines preparation, coloration, and protection steps that any DIY enthusiast can follow.
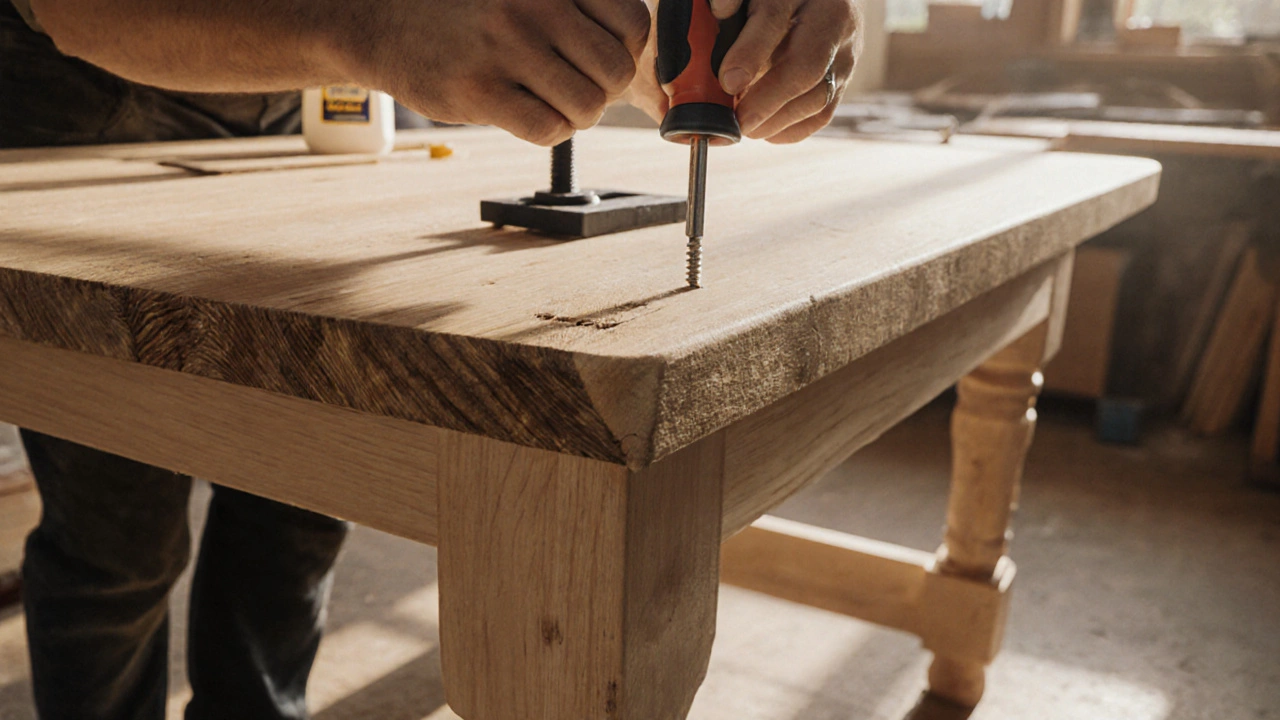
Refinishing a table involves three core actions: sanding the surface to remove old finishes, applying a wood stain to achieve the desired hue, and sealing with a varnish finish for durability. This chain of actions creates a clear semantic triple – the refinish table requires sanding tools, wood stain defines the final color, and varnish finish protects the wood. For sanding, a random‑orbit sander or hand‑held sanding block works best; start with 80‑grit paper to knock off old lacquer, then move to 120‑grit and finish with 220‑grit for a smooth base. When choosing a wood stain, consider the wood species – walnut, oak, or pine each react differently, so test on a hidden spot first. Apply the stain with a clean cloth or brush, let it penetrate, then wipe excess to avoid blotches. After the stain dries, a clear varnish – either water‑based polyurethane for low odor or oil‑based for deeper shine – seals the surface, guards against spills, and brings out grain detail. Each of these steps links back to the central goal: a table that looks fresh, resists wear, and matches the room’s style.
Practical Tips and Common Mistakes to Avoid
Understanding the relationship between wood stain, the pigment that penetrates the wood fibers and the final appearance can save hours of rework. Over‑applying stain leads to a dark, uneven finish; instead, apply thin coats and build color gradually. Likewise, skipping the final light‑sand (220‑grit) often leaves a rough texture that the varnish can’t fully smooth out. When using varnish finish, a protective clear coat that locks in color and adds shine, watch the drying time – rapid drying can cause bubbles, while too slow a cure invites dust settling. Lightly sand between varnish coats with 320‑grit paper to ensure adhesion and a glass‑like surface. If you’re working on a dining table, consider a food‑safe finish like a low‑VOC oil‑based polyurethane. Finally, always work in a well‑ventilated area and wear a mask; the fumes from stain and varnish can be harsh. By treating each step as a linked piece of a larger puzzle, you’ll end up with a table that not only looks great but stands up to everyday use. Below you’ll find a collection of articles that dive deeper into each of these stages, offer tool recommendations, and share real‑world before‑and‑after examples to inspire your next project.
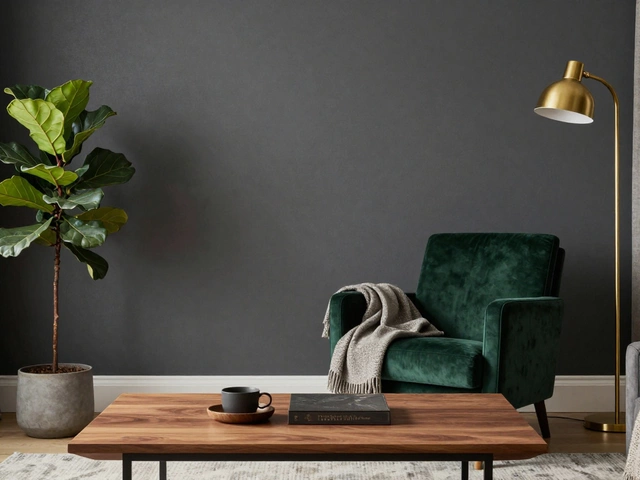
How to Modernize an Old Table: A DIY Guide to Fresh Looks
Learn how to transform an old table into a modern centerpiece with step-by-step DIY tips, finish options, hardware upgrades, budget advice, and maintenance tricks.
full article