Furniture Makeover Cost & Time Calculator
Select Your Finish
Hardware Upgrade Options
Estimated Project Summary
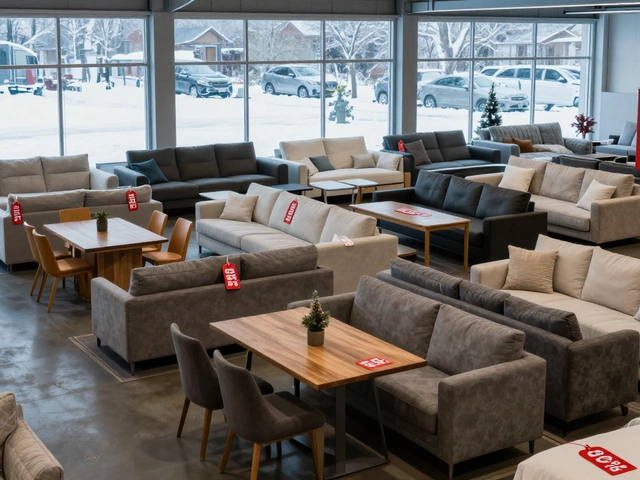
When you stumble upon an old table that still has a solid frame but looks dated, it’s a perfect cue for a DIY makeover. Instead of tossing it, you can give it a fresh, contemporary vibe that fits today’s interiors.
Quick Takeaways
- Start with a solid assessment - check joints, legs, and overall stability.
- Pick a modern finish that matches your style and budget (paint, stain, veneer, or glass).
- Prep properly: clean, sand, and prime before any finish.
- Upgrade hardware for an instant style lift.
- Seal with a protective coat to keep the look lasting for years.
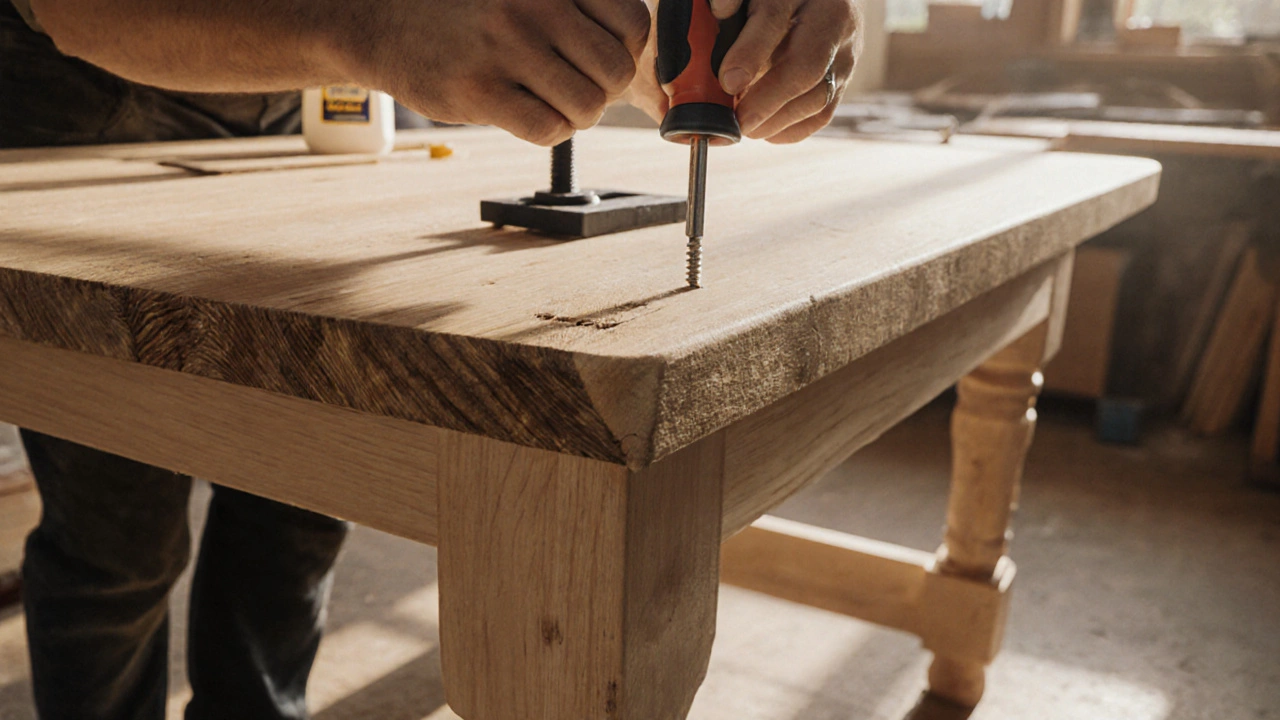
1. Assess the Table’s Condition
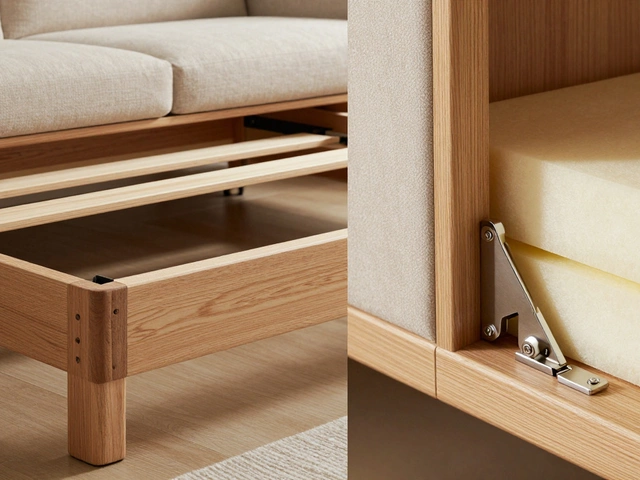
Before you dive into any aesthetic changes, make sure the structure is sound. Tighten loose screws, glue wobbly joints, and replace any broken legs. A stable base will hold up under sanding, painting, or added weight like a glass top.
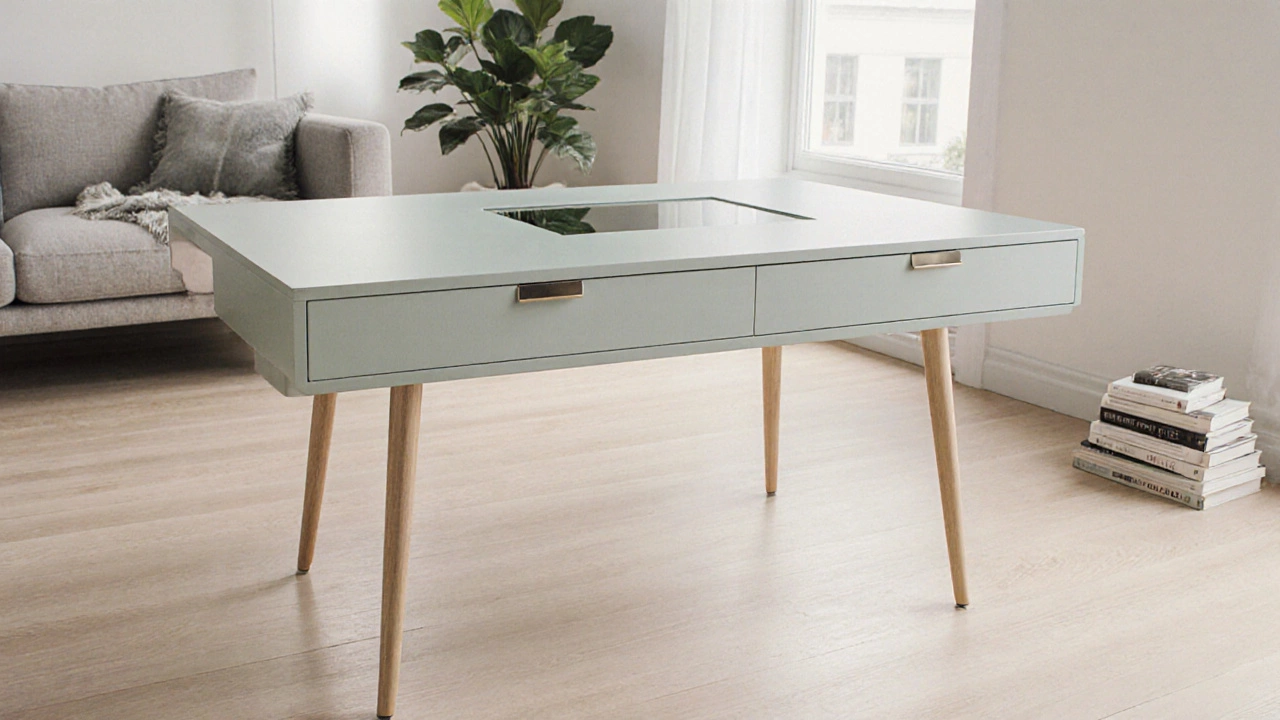
2. Choose a Modern Style That Fits Your Space
Modern design isn’t one‑size‑fits‑all. Think about the room’s vibe:
- Mid‑century modern favors clean lines and tapered legs - a light‑colored paint or natural wood stain works well.
- Industrial thrives on dark hues, metal hardware, and a matte finish.
- Scandinavian leans toward white or pastel tones and minimal hardware.
3. Prepare the Surface
Good prep equals a flawless final look. Follow these steps:
- Remove existing finish with a chemical stripper or a heat gun, depending on the old coating.
- Sand the wood using 120‑grit sandpaper for the first pass, then finish with 220‑grit sandpaper for smoothness.
- Wipe down with a tack cloth to remove dust.
- Apply a primer that matches your chosen finish - oil‑based for stain, water‑based for paint.
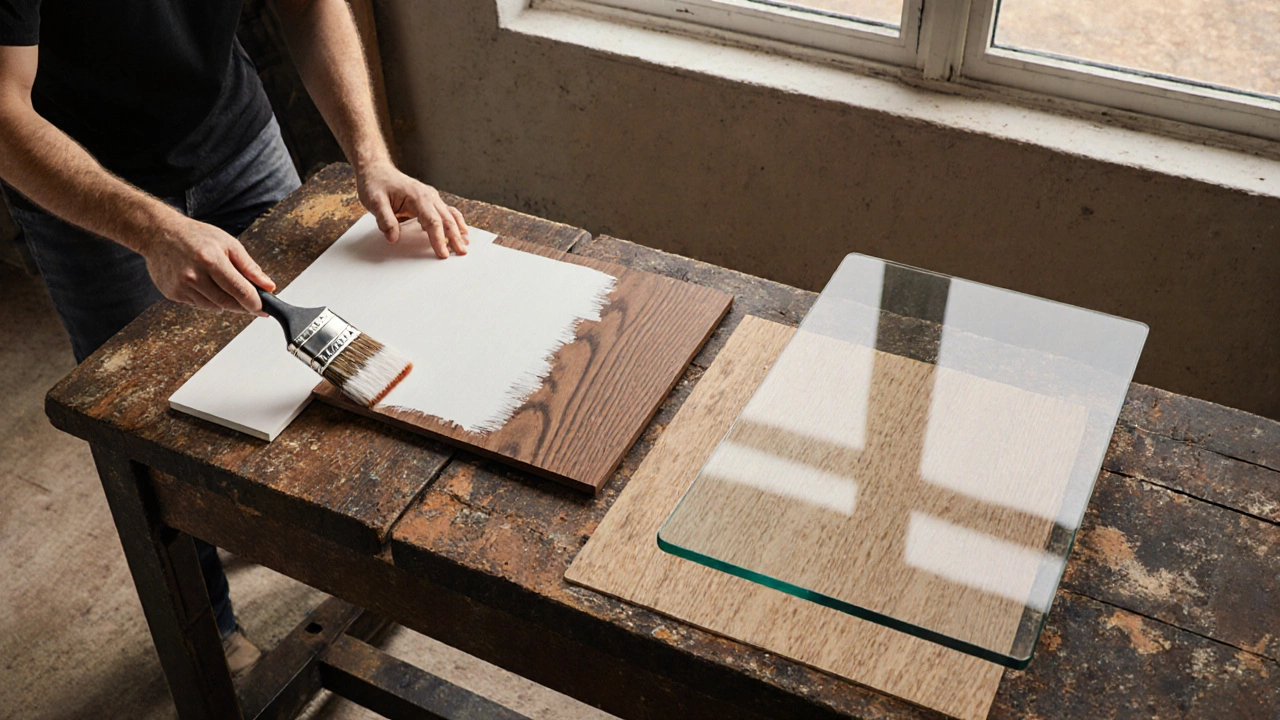
4. Finish Options - Paint, Stain, Veneer, or Glass Top
Each finish changes the table’s personality. Below is a quick comparison to help you decide.
| Finish | Look | Durability | Cost (USD) | Skill Level |
|---|---|---|---|---|
| Paint | Solid color, matte or gloss | High with polyurethane topcoat | $30‑$70 | Beginner |
| Stain | Enhances natural grain | Medium‑high | $25‑$60 | Intermediate |
| Veneer | Thin wood layer, “new wood” look | High | $80‑$150 | Advanced |
| Glass Top | Modern, protective surface | Very high | $100‑$250 | Beginner (requires cutting glass) |
For a quick transformation, modernize old table with paint or chalk paint. If you love the wood’s character, a darker stain works wonders. Veneer is ideal when you need a brand‑new surface but want to keep the original shape. A glass top adds a sleek layer and protects the work underneath.
5. Upgrade the Hardware
Swapping out drawer pulls, leg caps, or corner braces can instantly shift the table’s vibe. Choose hardware made of brushed nickel for industrial, matte black for modern, or polished brass for a touch of luxury. Installation is simple - a screwdriver or power drill does the job. Make sure the new hardware aligns with the existing holes; otherwise, a small wood filler and new pilot holes will do.
6. Add Functional Upgrades
Beyond aesthetics, you can boost usability:
- Glass inserts protect the surface and make cleaning a breeze.
- Attach metal brackets underneath for extra stability.
- Incorporate cable management grommets if the table will function as a desk.
7. Step‑by‑Step DIY Makeover
- Gather tools: sandpaper, brush or roller, drop cloth, painter’s tape, screwdriver, drill, and protective gloves.
- Inspect and repair the frame - glue, clamp, and let dry for at least 2hours.
- Strip old finish (if needed) and sand the surface.
- Wipe clean, then apply primer. Let cure as per label (usually 30minutes).
- For paint: brush or roll on two thin coats, sanding lightly between coats with 320‑grit paper.
- For stain: apply with a lint‑free cloth, let sit 5‑10minutes, then wipe excess. Follow with a clear sealant.
- Install new hardware - pre‑drill if holes don’t line up.
- If using a glass top, measure the tabletop, order a custom cut, and place on a thin silicone cushion to prevent slipping.
- Finish with a protective layer - a water‑based polyurethane for paint, or a oil‑based finish for stain.
- Allow the table to cure fully (24‑48hours for polyurethane) before placing items on it.
8. Budget & Time Management
Modernizing a table can be as cheap as $40 with paint and basic hardware, or upscale to $300+ for veneer and custom glass. Allocate about 4‑6hours for a simple paint job, and 8‑12hours for more involved upgrades. Keep a checklist to avoid missed steps - the last thing you want is to sand after you’ve already applied a finish.
9. Care and Maintenance
Once your table looks fresh, protect it:
- Use coasters and placemats to prevent water rings.
- Wipe spills immediately with a soft cloth.
- Re‑apply a thin coat of polyurethane every 2‑3years for painted surfaces.
- If you chose a glass top, clean with a non‑abrasive glass cleaner to keep it streak‑free.
Regular upkeep will keep the modern look vibrant for years, proving that upcycling truly beats buying new.
Frequently Asked Questions
Can I paint over a stained table?
Yes. Lightly sand the stained surface, apply a suitable primer, then paint. Primer helps the new color cover evenly and prevents old stain from bleeding through.
Is chalk paint better than regular latex paint for an old table?
Chalk paint adheres well to many surfaces without extensive sanding, making it a favorite for quick makeovers. However, it often needs a protective wax or polyurethane layer for durability.
How do I choose between a glass top and a new finish?
Consider usage: a glass top protects against spills and scratches, ideal for dining or craft tables. If you want to showcase the wood grain, a stain or paint finish is more appropriate.
What type of polyurethane should I use?
Water‑based polyurethane dries clear, stays UV‑stable, and is low‑odor - great for light paints. Oil‑based offers a slightly amber hue and extra hardness, which pairs well with dark stains.
Do I need to remove all old hardware before repainting?
You can leave it on if it’s in good condition; just mask it with painter’s tape. Removing hardware gives a cleaner edge but adds an extra step.