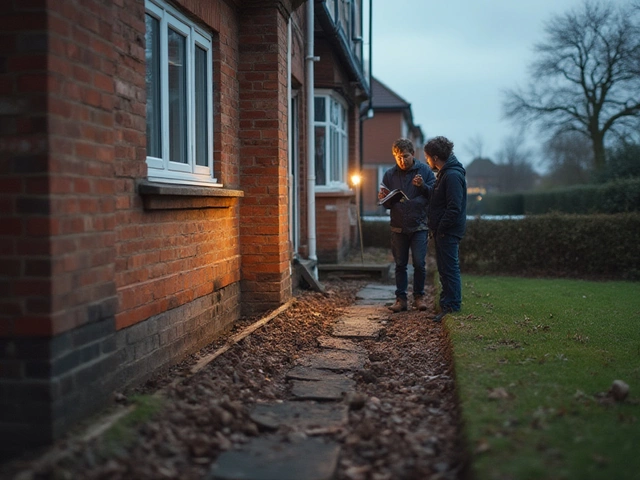
If your foundation is leaking from the inside, you’re not alone. In Vancouver’s wet climate, it’s a common problem-especially in homes built before 2010. Water doesn’t just show up as a puddle; it shows up as damp spots, musty smells, peeling paint, or white chalky residue on your basement walls. And if you ignore it, you’re not just dealing with a mess-you’re risking structural damage, mold growth, and a drop in your home’s value. The good news? You can fix this without tearing down your walls or hiring a contractor right away. Here’s how.
Understand Where the Water Is Coming From
Water doesn’t magically appear inside your foundation. It’s always moving from somewhere outside. In most cases, it’s groundwater pushing up against your foundation walls after heavy rain or snowmelt. In older homes, the original waterproofing-often just asphalt coating-has cracked or worn away. Poor drainage around your house makes it worse. If your gutters are clogged, or your yard slopes toward the house, water pools right next to your foundation and finds the weakest spot to seep through.
Water doesn’t travel in a straight line. It moves through tiny cracks, gaps around pipes, or porous concrete. That’s why you see it on the inside, even though the source is outside. The leak isn’t a hole in your wall-it’s a failure in your home’s defense system.
Check for the Most Common Entry Points
Before you start sealing anything, find where the water is actually entering. Here are the top three spots to inspect:
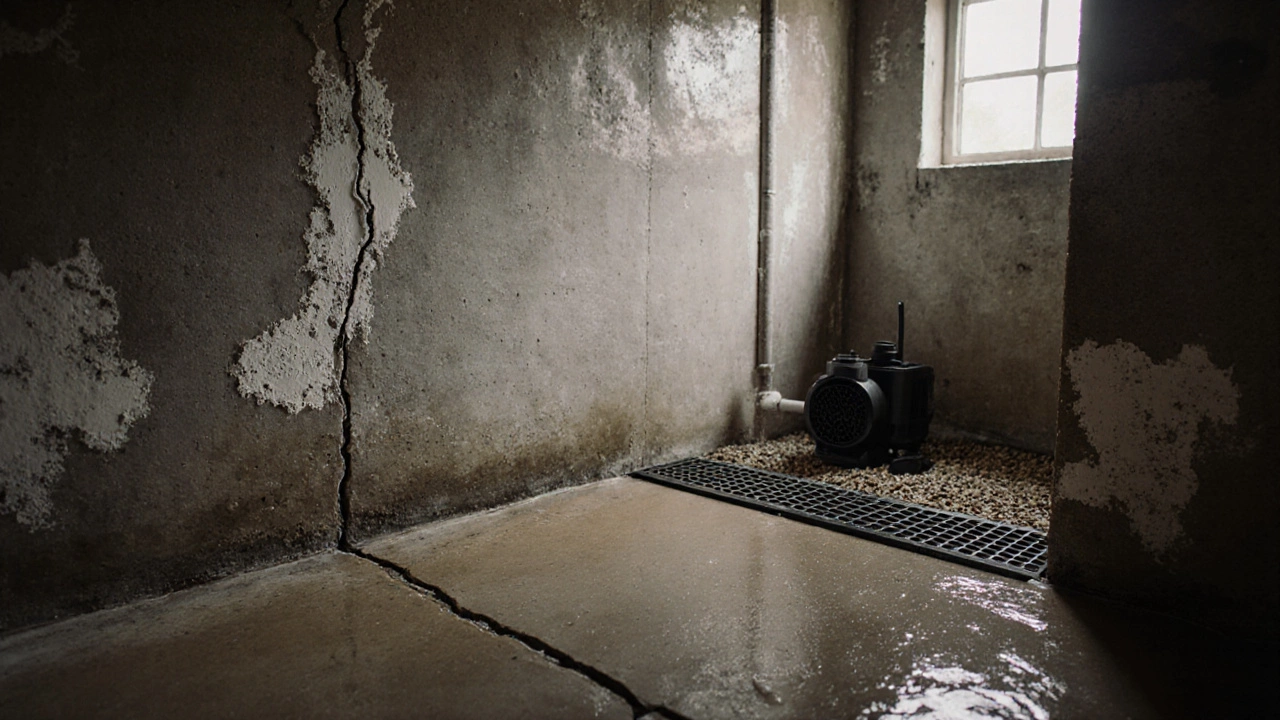
- Cracks in the foundation wall: Look for hairline fractures, especially near the floor or around windows. Even a 1/16-inch crack can let in gallons of water.
- Joint between the floor and wall: This is called the cold joint. It’s a natural weak point where the foundation wall and slab were poured at different times. Water loves to creep through here.
- Pipes and utility penetrations: Where electrical, plumbing, or gas lines enter the basement, there’s often a gap. Contractors sometimes use cheap sealants that dry out and crack over time.
Use a flashlight and go over every inch of your basement walls after it rains. Wet spots often appear within 24 hours of heavy rain. Take photos so you can track changes over time.
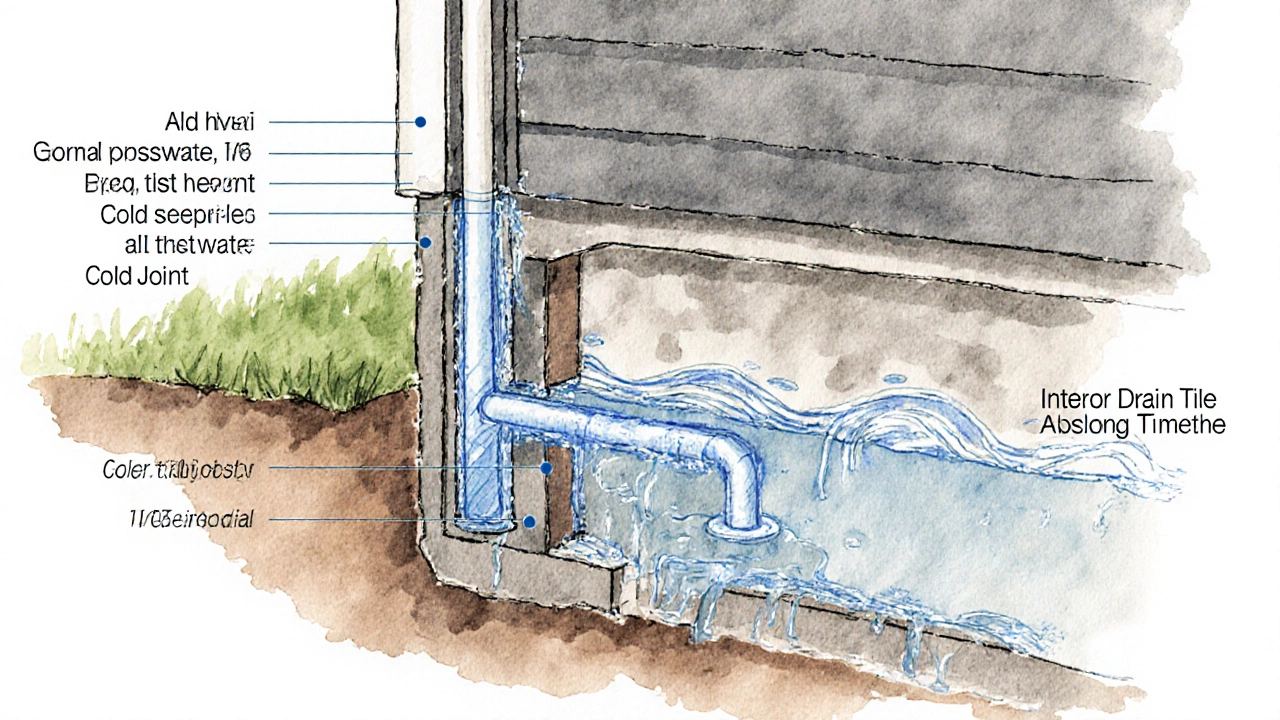
Fix Interior Water Intrusion with Interior Drainage
One of the most effective ways to stop water from leaking inside is to install an interior drain tile system. This isn’t as scary as it sounds. It’s a perforated pipe installed along the base of your foundation wall, under the floor, that collects water before it reaches your living space.
The system works like this: water seeps through the foundation, hits the drain tile, and flows to a sump pump. The pump then pushes the water out of your house. This doesn’t stop water from entering the foundation-it just catches it before it becomes a problem inside.
Most homeowners can’t install this themselves. But if you’re handy, you can do a simplified version: cut a 6-inch trench along the wall, lay gravel, lay a perforated pipe, cover with filter fabric, then pour a thin layer of concrete over it. You’ll still need a sump pump, which costs between $800 and $1,500 installed. This fix lasts 20+ years and is the standard solution in homes built in the last 15 years.
Seal Cracks and Joints with the Right Products
For small cracks and joints, you don’t need a full system. But you do need the right sealant. Regular caulk or painter’s putty won’t work. Water pressure will push it out in weeks.
Use a hydrostatic pressure-resistant sealant. Look for products labeled for below-grade use. Two top choices:
- RadonSeal Deep Penetrating Sealer: This goes deep into concrete, reacting with minerals to form crystals that block water from passing through. It works even under pressure.
- Foundation Armor Concrete Sealer: A water-based silicate that hardens the concrete surface and reduces porosity.
Apply it with a roller or sprayer after cleaning the wall with a wire brush and letting it dry for 48 hours. Don’t paint over it-these sealers need to breathe. You’ll see results in 7-10 days. For joints between wall and floor, use a flexible polyurethane caulk designed for concrete.
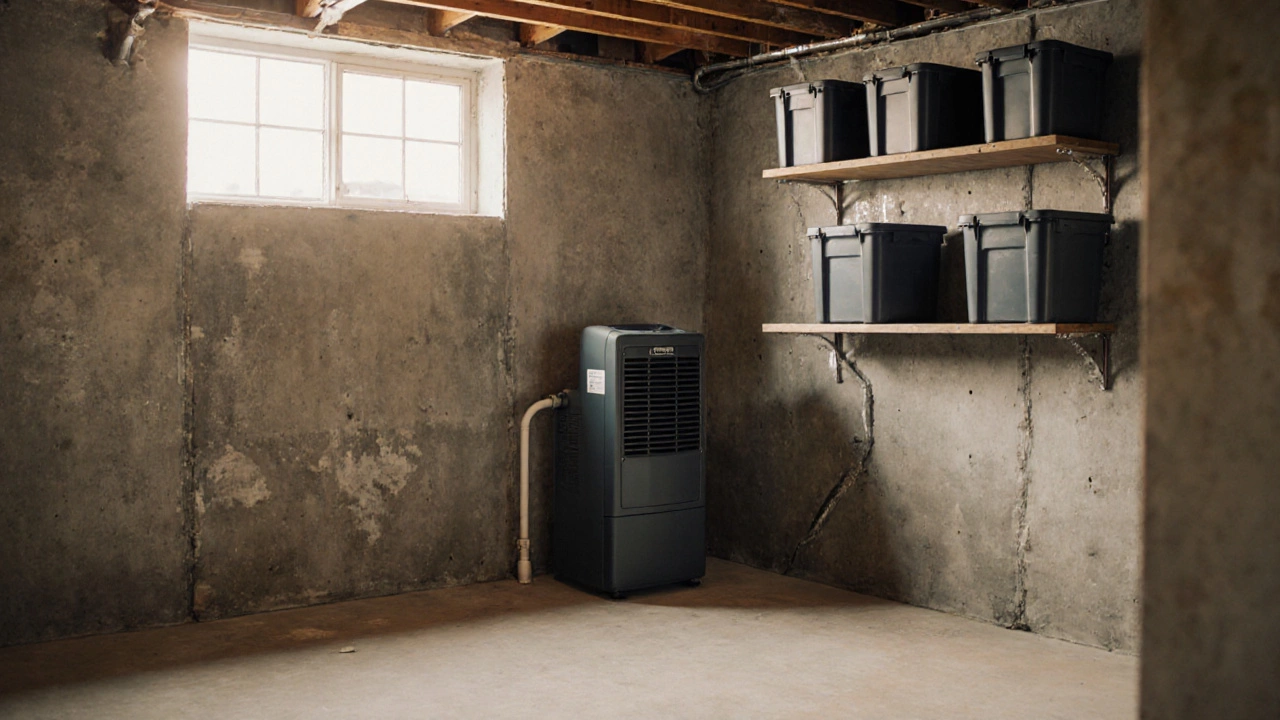
Improve Interior Humidity Control
Even after you stop the leaks, your basement might still feel damp. That’s because moisture in the air doesn’t disappear just because the water stopped coming in. High humidity leads to mold and mildew, even without visible leaks.
Install a dehumidifier. Not just any one-get one rated for basements with at least 70-pint capacity. Look for models with auto-drain or a hose connection so you don’t have to empty it every day. Keep the humidity between 30% and 50%. A simple hygrometer (under $15) tells you if you’re on track.
Also, avoid drying clothes in the basement. Don’t store cardboard boxes directly on the floor. Use plastic bins with tight lids. These small habits make a big difference in long-term dryness.
Don’t Use Interior Waterproofing Paints
Home improvement stores sell a lot of “waterproofing” paints. They look like a quick fix. But they’re often a trap.
These paints sit on the surface. They look good for a while. But when water pressure builds up behind them, they blister, peel, and trap moisture inside the wall. That’s worse than leaving it bare. The trapped water slowly breaks down the concrete from the inside. You might not notice until the wall starts crumbling.
Never use interior waterproofing paint if you have active leaks. It’s a bandage on a broken bone. If you want to paint your basement walls for appearance, wait until you’ve fixed the source of the water, then use a breathable masonry paint.
When to Call a Professional
You can handle small leaks yourself. But if you see any of these signs, it’s time to call a foundation specialist:
- Water is flowing, not dripping
- Cracks are wider than 1/4 inch
- Walls are bowing inward
- You see efflorescence (white, powdery residue) covering large areas
- There’s mold on multiple walls or in the HVAC ducts
These aren’t just moisture problems-they’re structural issues. A professional will likely recommend exterior waterproofing: digging around the foundation, applying a new membrane, and installing exterior drainage. It’s expensive ($10,000-$25,000), but it’s the only permanent fix for severe cases.
Get at least three written estimates. Ask if they offer a transferable warranty. Reputable companies in British Columbia usually offer 10-25 year warranties on exterior work.
Prevent Future Leaks Before They Start
Once you’ve fixed the leak, don’t let it come back. Here’s what to do every year:
- Clear gutters in spring and fall. Clogged gutters are the #1 cause of foundation leaks in Vancouver.
- Check downspouts. They should extend at least 6 feet away from the house. Use splash blocks or underground piping.
- Grade your yard. Soil should slope away from your foundation at 1 inch per foot for at least 6 feet.
- Inspect basement walls every 6 months. Look for new damp spots or cracks.
- Test your sump pump every 3 months by pouring water into the pit.
These steps cost nothing but time. And they’ll save you thousands.
Can I fix a leaking foundation from the inside without digging outside?
Yes, you can manage minor to moderate leaks from the inside using an interior drain tile system and proper sealants. This won’t stop water from entering the foundation, but it will catch it before it enters your living space. For serious structural issues like bowing walls or large cracks, exterior repairs are necessary.
Will sealing cracks with epoxy stop water completely?
Epoxy is great for structural crack repair, but it’s not a waterproofing solution. It bonds the crack closed but doesn’t resist water pressure. For active leaks, use a hydrostatic pressure-resistant sealer like RadonSeal instead. Epoxy should only be used after the water issue is resolved.
Why does my basement smell musty even after drying it out?
Musty smells come from mold spores trapped in porous materials like drywall, insulation, or wood framing. Even after the water stops, mold can still grow if humidity stays above 60%. Remove affected materials, clean with a bleach solution, and use a dehumidifier to keep humidity below 50%. Without addressing the humidity, the smell will return.
How long does interior waterproofing last?
Interior drain tile systems with a sump pump last 20-30 years if maintained. Sealants like RadonSeal last 10-15 years. Dehumidifiers need filter changes every 6 months and can last 8-12 years. Regular checks every year keep your system working longer.
Is it safe to finish my basement if it’s had water leaks?
No-not until the source of the leak is permanently fixed. Finishing a basement with an active water problem risks mold growth behind drywall, ruined flooring, and hidden structural damage. Wait until you’ve installed drainage, sealed cracks, and run a dehumidifier for 3-6 months with no signs of moisture. Then proceed.
What Happens If You Do Nothing?
Ignoring a leaking foundation isn’t just about a wet floor. Water weakens concrete over time. Repeated freeze-thaw cycles in Vancouver’s winters cause cracks to expand. Mold can spread through walls and ducts, triggering allergies or asthma. Insurance may not cover damage from gradual water seepage-it often only covers sudden events like burst pipes.
Studies from the Canadian Mortgage and Housing Corporation show that homes with unresolved foundation leaks sell for 10-15% less than comparable homes. Buyers notice. They smell it. They hire inspectors. And they walk away.
Fixing a small leak now costs $500-$2,000. Waiting until the wall cracks or the floor buckles? That’s $15,000-$30,000. And you’ll still need to fix the leak.