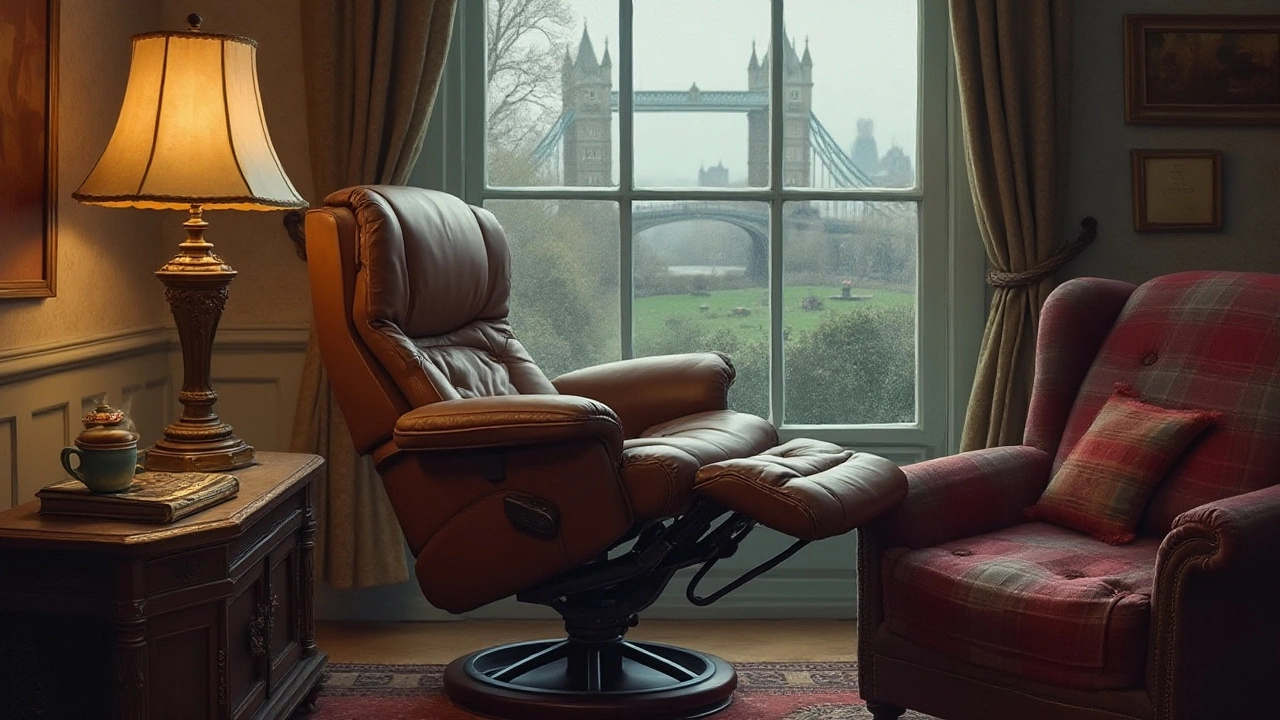
Recliner Malfunction: Causes, Fixes & Maintenance Tips
When dealing with recliner malfunction, the unexpected problems that stop a recliner from reclining, adjusting, or staying steady. Also known as recliner failure, it often originates from worn recliner mechanisms, faulty wiring, or leaking hydraulic components. Understanding the root cause saves time and money, because furniture repair covers the techniques used to restore moving parts and restore safety and proper maintenance tools like screwdrivers, pliers, and pressure gauges are essential for a successful DIY fix.
Common Mechanical Issues Behind Recliner Malfunction
Most problems fall into three categories: mechanical wear, electrical failure, and hydraulic loss. Mechanical wear shows up as squeaking joints or a stuck footrest; the moving gears and springs have simply reached the end of their service life. Electrical failure appears as a dead motor or unresponsive remote—usually a broken power cord or a blown fuse. Hydraulic loss is a slow drip that causes the chair to drop or not fully extend, indicating a seal breach. Each issue recliner malfunction describes can be diagnosed by listening for noises, checking for power, and inspecting the fluid reservoir. Knowing which category you face directs you to the right repair path and prevents unnecessary part replacement.
Brand reputation also plays a role. Premium recliner brands tend to use sealed hydraulic systems and reinforced mechanisms, reducing the frequency of malfunctions. Mid‑range models often rely on exposed cylinders that are more prone to leaks, while budget options may cut corners on motor quality, leading to early electrical failures. This relationship—brand quality influences malfunction rates—helps you decide whether a DIY repair is worth it or if replacing the unit makes more sense.
Before you pick up a screwdriver, gather the right tools and safety gear. A set of insulated screwdrivers, a socket wrench, and a fresh hydraulic fluid kit are the basics. For electrical issues, a multimeter confirms voltage flow without risking shock. Protective gloves keep your hands clean when handling oil or broken springs. Using the correct maintenance tools not only speeds up the job but also reduces the chance of damaging delicate components.
DIY steps vary by fault type. For a squeaky mechanism, remove the upholstery, lubricate the pivot points with silicone spray, and tighten any loose bolts. Electrical fixes start with checking the power cord, replacing a burnt motor if needed, and resetting any built‑in safety switches. Hydraulic repairs involve draining the old fluid, inspecting the cylinder for cracks, and refilling with the manufacturer’s recommended oil pressure. Each solution follows a simple logical chain: identify the symptom, isolate the subsystem, apply the appropriate fix, and test before reassembling. This systematic approach turns a confusing breakdown into a manageable project.
If the problem persists after these steps, it’s time to call a professional. Complex hydraulic seals, internal wiring harnesses, or structural frame damage require specialized tools and expertise. A qualified technician can also provide warranty service for higher‑end brands, ensuring you don’t void the agreement. Whether you choose to repair yourself or hire help, understanding the cause of a recliner malfunction empowers you to make informed decisions and extend the life of your favorite chair.
Below you’ll find a curated collection of articles that dive deeper into each of these topics—brand comparisons, detailed repair guides, tool recommendations, and safety checklists—so you can tackle any recliner issue with confidence.
Understanding Why Electric Recliners Stop Working and How to Fix Them
Electric recliners offer comfort and convenience, but like any piece of technology, they can run into issues. Whether it's due to a power outage, loose wiring, or an aging motor, there are many reasons why these chairs might stop working. Understanding the common problems and knowing how to troubleshoot them can save you time and expensive repairs. This article explores the causes of electric recliner malfunctions and offers practical solutions to get them back in action.
full article