Foundation Repair Assessment Tool
Can You Repair Your Foundation DIY?
This tool evaluates your foundation issue to determine if a DIY repair is appropriate or if you need professional help.
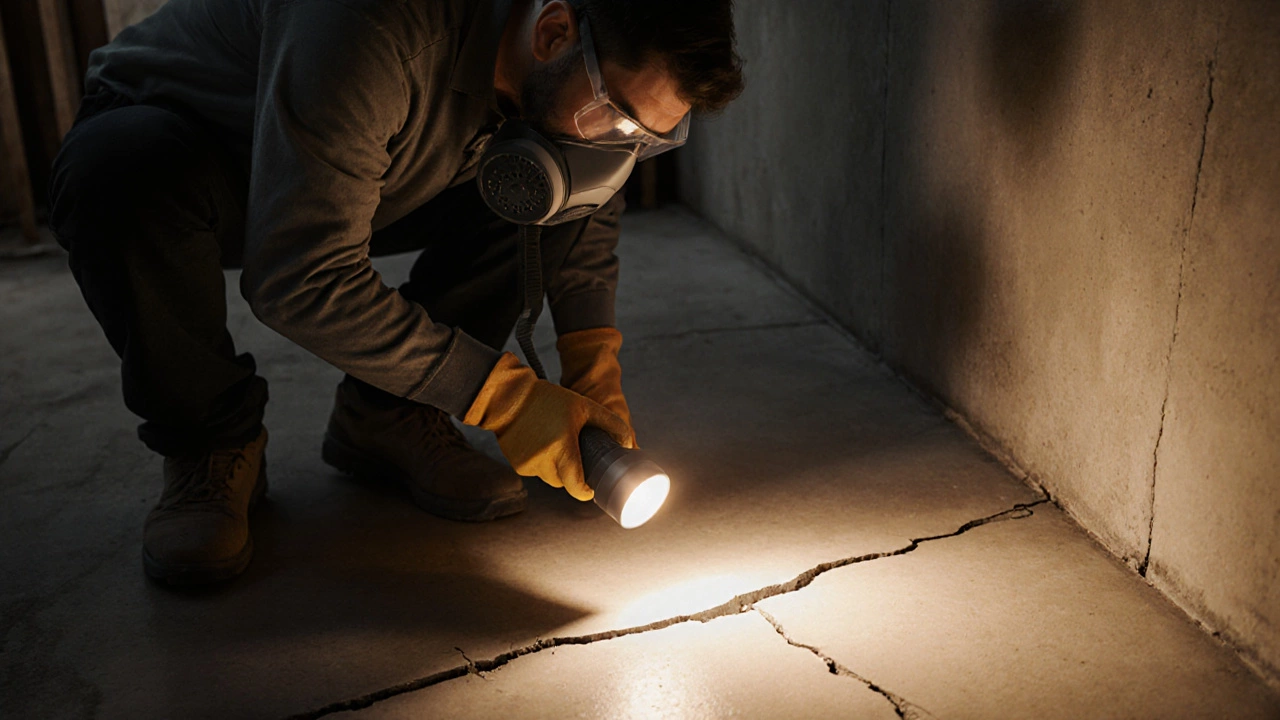
Seeing cracks crawl across your basement wall or noticing a floor that slopes toward one corner is unsettling. Before you call a contractor, ask yourself: can I handle the repair myself? This guide walks you through the decision‑making process, the tools you’ll need, a practical step‑by‑step method, and the red flags that signal it’s time to hire a pro.
Quick Takeaways
- DIY work is realistic for minor cracks in a slab foundation that are less than ¼ inch wide.
- Water intrusion and major settlement require a structural engineer assessment.
- Essential tools include a hydraulic jack, carbon fiber straps, and a concrete mix designed for repair.
- Safety gear-gloves, goggles, and a respirator-is non‑negotiable.
- When in doubt, the cost of a professional repair is far lower than fixing a botched DIY job.
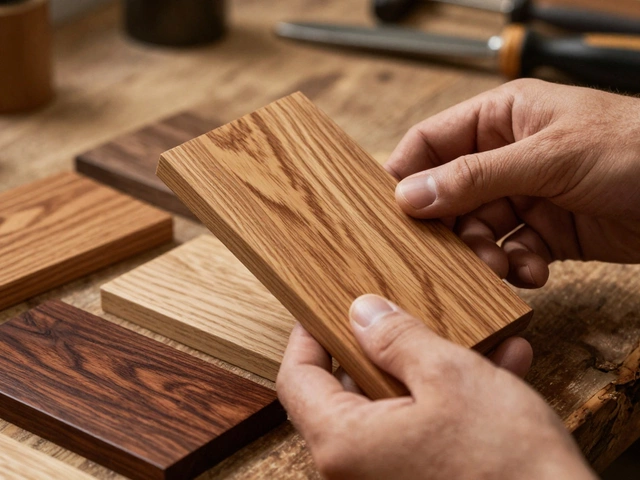
Understanding Foundation Types and Failure Modes
Most Canadian homes use one of three foundation systems: pier and beam, slab on grade, or a full basement wall. Each reacts differently to soil movement, moisture changes, and load shifts.
Soil moisture is the biggest driver of settlement. Expansive clay swells when wet and shrinks when dry, pulling at footings and creating cracks. Poor drainage systems amplify the problem by allowing water to pool near the footing.
Identifying the cause helps you choose the right repair method. A hairline crack caused by surface drying is usually harmless, while a stair‑step crack that widens on each floor points to differential settlement-often beyond DIY scope.
When DIY Makes Sense
DIY foundation repair is viable when:
- The damage is limited to surface cracks under ¼ inch.
- There is no active water leakage or flooding.
- You have access to a stable work area-no confined crawl spaces.
- You can safely operate heavy lifting equipment like a hydraulic jack.
If any of these conditions fail, the risk of worsening the structure outweighs the savings.
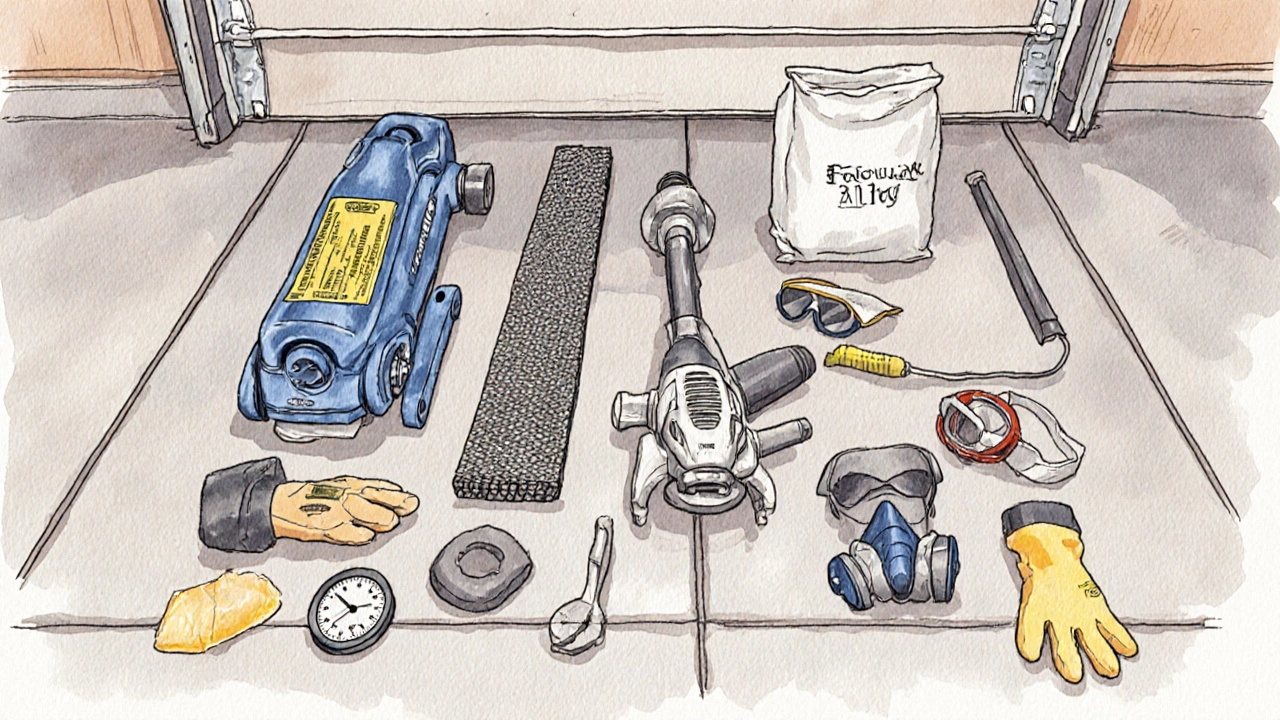
Essential Tools & Materials
Gather these items before you start. Buying them in a single trip saves time and prevents half‑finished projects.
| Tool/Material | Purpose | Typical Cost (CAD) |
|---|---|---|
| Hydraulic jack | Lift settled sections back to level | 250-400 |
| Carbon fiber reinforcement strips | Provide tensile strength across cracks | 80-150 per strip |
| Polymer‑modified concrete mix | Fill and bond cracks | 30-45 per 25 kg bag |
| Concrete grinder | Prepare crack edges for bonding | 120-200 (rental) |
| Safety gear (gloves, goggles, respirator) | Protect yourself from dust and chemicals | 50-100 |
Step‑by‑Step DIY Repair Process
- Inspect and document. Photograph each crack, measure its width with a crack gauge, and note any water stains. This record helps you track progress and provides evidence if you later need a professional.
- Control moisture. Install temporary perimeter drains or use a de‑humidifier to bring soil moisture to a stable level (ideally 12‑15%). Moisture swings during repair can cause re‑settlement.
- Expose the crack. Use a concrete grinder to remove loose material and create a V‑shaped groove about ¼ inch deep. A clean edge ensures the epoxy or polymer bond properly.
- Inject epoxy. Mix the polymer‑modified epoxy according to the manufacturer’s directions. Pour it into the groove, then use a tamping rod to push it fully into the void. Let it cure at least 24 hours.
- Apply reinforcement. Cut carbon fiber strips to length, then embed them in the fresh epoxy, pressing firmly. This step converts the brittle concrete into a composite that can handle tensile forces.
- Lift settled sections (if needed). Position the hydraulic jack under a sturdy beam or ledger attached to the foundation. Raise the slab slowly-no more than ¼ inch per hour-while monitoring for new cracks.
- Backfill and compact. Once the floor is level, backfill the surrounding soil with non‑shrink fill, compacting in 6‑inch layers to a density of 95% of the Proctor standard.
- Seal and finish. Apply a waterproof sealant over the repaired area and reinstall any interior finishes. Monitor the spot for 30 days; if cracks reappear, stop and reassess.
Common Pitfalls and How to Avoid Them
Even experienced DIYers trip up on these details:
- Skipping moisture control. The soil will keep expanding and contracting, undoing your work.
- Using the wrong epoxy. Standard concrete glue lacks the flexibility needed for foundation movement.
- Over‑lifting. Raising a slab too fast can shear the new concrete and create new cracks.
- Neglecting safety. A hydraulic jack can snap back; always use a jack stand and keep the area clear.
DIY vs. Professional Repair: A Quick Comparison
| Aspect | DIY Approach | Professional Service |
|---|---|---|
| Cost | ~$800‑$1,200 for minor cracks | $3,000‑$8,000 for comparable work |
| Time | 3‑5 days (including drying) | 1‑2 weeks (permits, inspections) |
| Scope | Surface cracks, minor settlement | Major settlement, underpinning, water mitigation |
| Warranty | None, unless you purchase material guarantees | Typically 5‑10 years |
| Risk | Higher if assessment is wrong | Lower; engineers certify work |
When to Call a Professional
If you encounter any of these signs, stop the DIY project and contact a licensed contractor or structural engineer:
- Cracks wider than ¼ inch or that grow each time it rains.
- Doors and windows that stick or won’t close properly.
- Visible water pooling inside the foundation or persistent dampness.
- Uneven floors that slope more than 1/8 inch over a 10‑foot span.
- Any indication of structural movement in load‑bearing walls.
Professionals bring equipment like helical piers, push piers, and laser leveling devices-nothing a homeowner can safely replicate in a typical garage.
Frequently Asked Questions
Can I patch a foundation crack with regular concrete?
Regular concrete lacks the flexibility needed for a foundation that moves with soil. A polymer‑modified epoxy or a flexible sealant is recommended for true bond strength.
How long does epoxy need to cure before I can walk on it?
Most epoxy systems reach full strength in 24‑48 hours, but waiting 72 hours before applying heavy loads is safest.
Is a hydraulic jack safe for lifting a slab?
Yes, if you use a proper spreader plate, a jack stand, and lift no more than ¼ inch per hour. Never exceed the jack’s rated capacity.
Do I need a building permit for DIY foundation work?
Most municipalities require a permit for any structural alteration, including lifting or underpinning. Check with Vancouver’s Development & Building Services Center before you start.
What’s the cheapest way to stop water from seeping into the foundation?
Improving exterior grading and installing a French drain are cost‑effective first steps. They address the source of moisture rather than just the symptom.
Bottom line: if the problem is small, you have the right tools, and you respect safety, a DIY repair can save money and give you a sense of accomplishment. When the stakes are high, the safest route is to let a licensed professional handle the job. Either way, tracking moisture and monitoring the repair over time will keep your home stable for years to come.