Mistakes in bathroom renovations don’t just blow budgets—they can straight up flood your home or delay your project by weeks. Here’s a mind-boggling stat: in a 2024 survey, nearly 62% of DIY bathroom renovators said they wished they’d done things in a different order after their first go. You don’t want to be in that club. The right sequence saves cash, headaches, and a whole bunch of cleaning up after yourself.
Start by figuring out exactly what needs doing and block out some time. Skipping this step almost always bites people later—nothing’s worse than tearing out tiles only to realize you forgot to shut off the water or line up a plumber. First thing, sort your permits, double-check what’s behind your walls, and line up your materials. Think of it as laying out all your tools before unscrewing a single fitting.
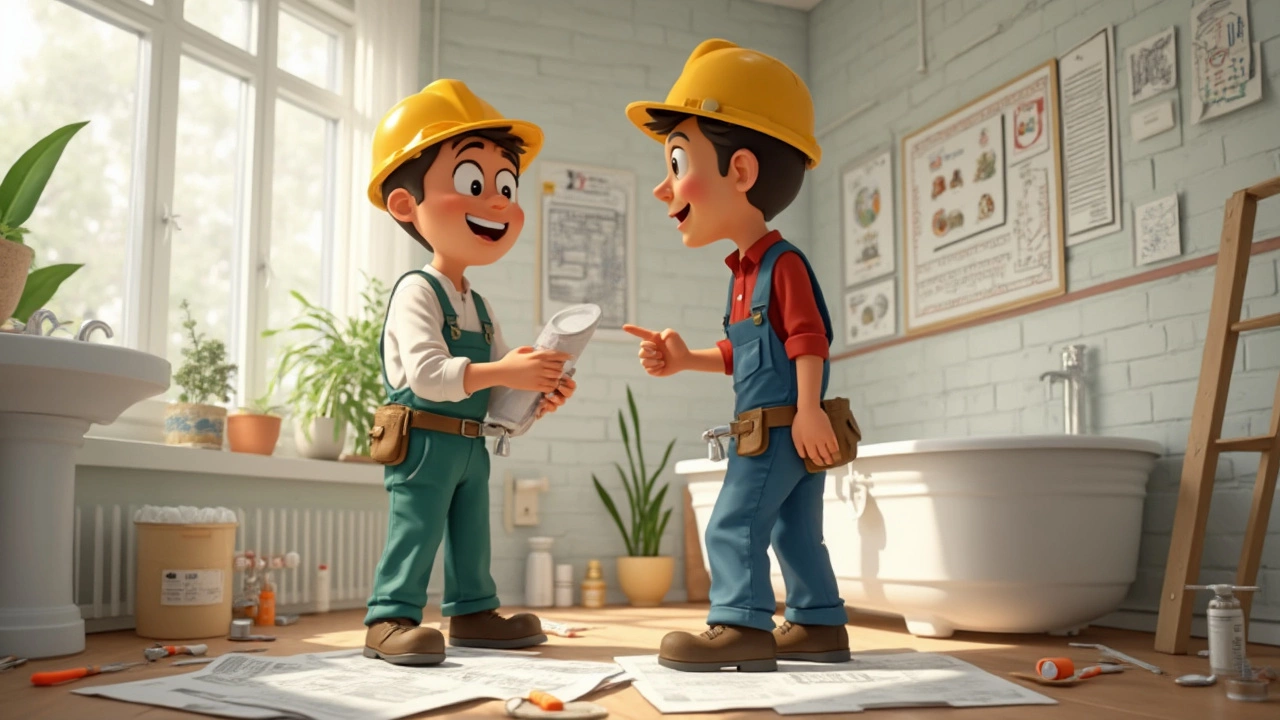
If you want a bathroom you’re not constantly fixing, following the best renovation order is your secret weapon. Small choices—like demoing ceilings before floors or making sure plumbing changes come before drywall—make a difference. Ready to get specific about what comes first, and what you’ll be kicking yourself for if you do it out of order? Let’s break it down step by step.
- The Case for Planning Ahead
- Demo Day: Tearing Out the Old
- Dealing With Pipes and Wiring
- Building the Bones: Walls and Floors
- The Art of Putting it All Back
- Final Touches and Troubleshooting
The Case for Planning Ahead
You might be itching to grab a sledgehammer, but hold up. The difference between a smooth bathroom renovation and a total mess comes down to one thing: planning. Too many pros have seen homeowners start knocking down walls only to find unexpected pipes, ancient wiring, or a ton of mold. Want a quick way to blow your budget? Skip the planning stage.
Let’s put some numbers behind this. According to the National Kitchen & Bath Association’s 2024 report, 67% of bathroom delays were blamed on poor planning. That’s more than the delays caused by backordered tiles or labor shortages combined.
| Reason for Delay | Percent of Projects |
|---|---|
| Poor Planning | 67% |
| Material Shortages | 19% |
| Contractor Issues | 9% |
| Other | 5% |
What does good planning look like? Here’s a checklist that actually helps:
- Measure everything. Twice. The biggest remodeling regrets usually start with bad measurements.
- Research what’s behind your walls. Find your shutoff valves now, not after you flood the living room.
- Draw up a simple sketch of your new bathroom. It can be rough, but know where every fixture goes.
- Line up your materials before starting demo. That means tiles, toilets, vanities—order early because shipping delays are no joke these days.
- Sort your permits up front. Cutting corners here can get you fined or forced to tear out work later.
If you're planning to DIY, book trade pros (like plumbers and electricians) before starting. The good ones get snapped up fast, especially in spring and summer. Don’t just call when you need them last minute—they’ll usually be booked solid.
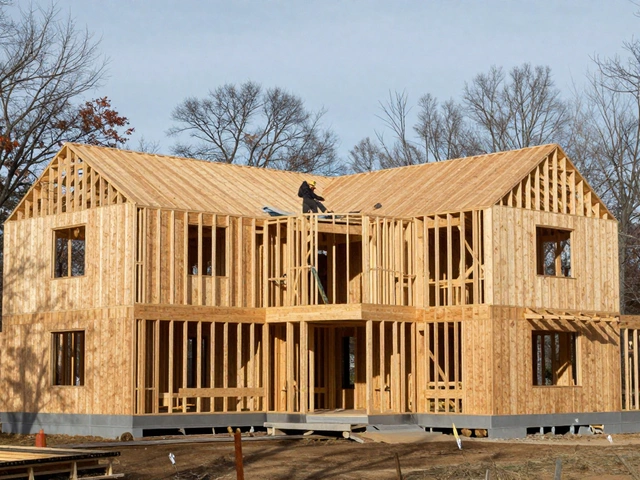
Demo Day: Tearing Out the Old
This is where things start looking messy fast, but it’s hands-down the most satisfying step — especially if you love smashing tiles. But you can’t go at it blindly. Mistakes here can mean surprise repair bills or injuries. Did you know about 15% of all home renovation injuries happen on demo day? Ripping out old tile or porcelain isn’t a joke.
Don’t just grab a hammer and start swinging. Here’s what should happen before you touch a thing:
- Turn off the water at the main valve. Toilets, sinks, and tubs can hold way more water than you’d guess.
- Shut off the electricity at the breaker—especially if lights, fans, or outlets are getting replaced.
- Protect nearby rooms and floors with plastic sheeting and painter’s tape. Dust gets everywhere.
- Gear up with gloves, goggles, heavy clothes, and boots. Sharp shards and mold are real hazards.
Once that’s sorted, it’s time for the real action. Here’s the usual order so nothing gets broken (that shouldn’t):
- Remove the toilet. It’s usually lighter than you think, and out of the way fast.
- Take out the vanity, sink, and countertops. Disconnect plumbing without forcing pipes.
- Demo any cabinets and shelves, working from top down.
- Pull out shower doors, then get the tub or shower pan loose with a pry bar.
- Tear out tile, drywall, and flooring — but watch for hidden pipes or wires. If you spot black mold behind walls, pause and call a pro, because that’s a health risk.
And here’s a stat to keep on your radar:
| Demo Step | Time (DIY Average) | Injury Risk (1-10) |
|---|---|---|
| Toilet Removal | 30 minutes | 3 |
| Vanity/Sink Removal | 45 minutes | 4 |
| Tile Demolition | 2–4 hours | 6 |
| Drywall/Floor Demolition | 1–3 hours | 5 |
Pro tip: Rent a dumpster up front. Big box store runs for disposal halfway through will kill your momentum and clog your driveway. And always keep a shop vac on hand, trust me on that.
The best part? After this chaos, you’re left with a clean slate. This is where a real bathroom renovation begins to feel possible. Just remember—the slower and smarter you go during demo, the smoother things will run from here.
Dealing With Pipes and Wiring
This is where most bathroom renovation projects hit their make-or-break moment. After demo, all the guts—pipes, wires, and drains—are exposed. Change things here, you change everything about how your bathroom works. If you move your sink, shower, or toilet, you’ll be messing with water lines and often the main stack. That means either serious DIY plumbing skills or calling in a pro. And don’t forget, every move costs money and time, especially when it involves the main drain.
Hot tip: Plan every fixture location before messing with pipes. Once you cut into the wall or floor, fixing mistakes takes way longer and turns cheap changes into expensive repairs. Water lines for sinks and toilets, as well as the vent pipes, should be roughed in exactly where you need them before walls close up. If you’re updating an old house, expect surprises—old pipes can be rusted, thin, or not up to code. Sometimes you’ll find 1960s wiring with no ground wire, and that’s not just annoying; it’s unsafe and illegal to leave unchanged.
Electrical is just as picky. Outlets near the sink must be GFCI (that’s ground fault circuit interrupter, and, yes, it’s required by code in any wet area). You’ll also want separate circuits for things like heated floors, big vanities, or those fancy bidet toilets. Map out where all your lights, fans, and outlets are going before laying any new wire.
- Always shut off water and power at the main supply before starting any plumbing or electrical work.
- Run plumbing and wiring at the same time if you can; it saves patching up walls twice.
- Don’t rely on old measurements. Use a tape measure and mark stud locations for pipe brackets and electrical boxes so everything fits tight.
- If your project requires permits, get rough-in inspections before closing up the walls. Skipping this step will haunt you during resale or insurance claims.
Think of this as the backbone of your bathroom renovation. Get it right now and you’ll never have to rip apart finished tile to swap a leaking pipe or a dead outlet later. It’s worth slowing down and double-checking every step here.
Building the Bones: Walls and Floors
Once your pipes and wires are set, it’s time to bring things back to life. Getting the walls and floors right makes everything else easier—bad drywall or uneven subflooring will mess up tiles, cabinets, and more. So, pay attention here.
You’ll want to put up your wall framing or repair any that took a beating during demo. Check for rot, especially around the shower and tub. Bathroom humidity is no joke—wet studs lead to mold and years of trouble. If you need to, full replacement is safer than patch jobs in wet spots.
Moisture-resistant drywall (often called green board) is a must in bathrooms. Standard stuff won’t cut it. Around wet areas like showers, most pros use cement backer board instead—this stuff is heavy, but it’s what keeps tile jobs from falling apart. According to the National Kitchen & Bath Association, “Using the right underlayment—like cement board for tile in showers—prevents future leaks and thousands in damage.”
"If you want your bathroom reno to last 20 years instead of five, spend the extra time (and couple bucks) to waterproof every surface that gets wet.” — Mike Holmes, professional renovator
If you’re laying new subfloors, make sure they’re level. Unleveled floors equal cracked tiles and wobbly cabinets, and you’ll feel every bump when you walk barefoot. A good trick: drag a level across the floor and fill in low spots before you move on—do it now and spare yourself some swearing later.
After framing and subfloor, the wall finish and tiling comes next. Here’s the typical order most pros use:
- Install moisture-resistant drywall or cement board.
- Apply a waterproof membrane on wet walls and floors.
- Tile showers and tub surrounds first, then floors last.
- Grout and let everything dry for at least 24 hours before walking on it.
Want to see how time adds up? Check this out:
| Step | Average Time (Days) |
|---|---|
| Framing & Subfloor Repair | 1-2 |
| Drywall/Backer Board | 1 |
| Waterproofing | 1 |
| Tiling & Grouting | 3-4 |
Always check manufacturer instructions for anything you install—skipping an adhesive or not letting tile cure long enough can ruin a bathroom renovation faster than you’d think. Never paint or caulk over damp grout, either. Give materials time to set, and double-check every corner for gaps before you move on. If you hear squeaks or see bowing, fix it before bringing in the big ticket items like vanities or toilets. Trust me, fixing a problem now is ten times easier than later when everything’s bolted down.
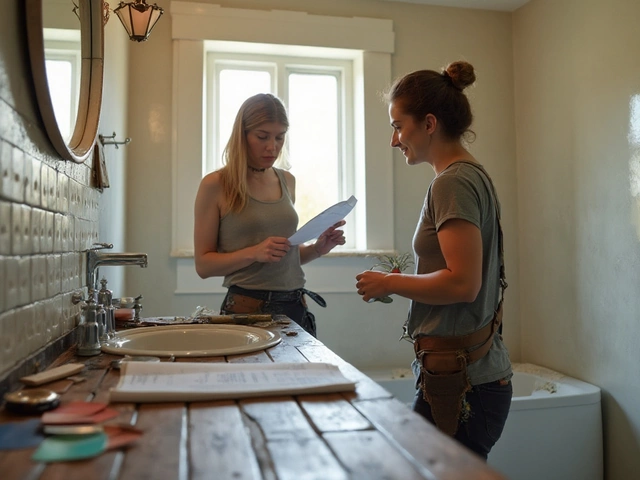
The Art of Putting it All Back
This is the part where your bathroom starts looking like a bathroom again, not just a pile of dust and pipes. The most successful projects stick to an order when fitting everything back in—skip around, and you risk ruining new surfaces or having to redo work. There's hard data behind this: According to a 2023 Bathroom Remodelers Association survey, over 70% of time delays come from putting fixtures in too early or installing floors before finishing walls.
Your main focus here is on protecting your new finishes and getting the big, tough jobs done before the pretty ones. Here’s the sequence that works for both pros and weekend warriors:
- Floors first. Always start from the ground up. Tile or lay flooring before fitting stuff like toilets or vanities. This gives a cleaner look and avoids awkward tile cuts.
- Walls and Paint. Once that floor's in, hit the walls. Patch, prime, and paint now so drips are easy to wipe up and nothing splatters on your shiny fixtures.
- Big Fixtures. Next up is the bath, shower, or any built-ins. Tubs and shower bases usually go in before wall tiles so you can seal the seams tight (no one likes a moldy joint).
- Cabinets and Vanity. Pop these in when the flooring and big stuff is done, not before. You avoid marking new cabinets with paint or glue.
- Sinks and Toilet. These go in last so you’re not stepping around them or risking cracks as you finish other stuff.
- Lighting and Power. Any lights, fans, or outlets come now for safe, easy access.
Here’s a quick look at where most people run into trouble if they go out of order:
| Task | Common Mistake | What Happens |
|---|---|---|
| Install toilet before floor | Work around | Leaks, uneven tiles, toilet wobble |
| Paint after fixtures | Paint drips | Paint on new sinks, tap handles |
| Wall tiles before bath base | Seal failure | Water leaks behind bath |
Here’s a tip installers always use: test all drains and valves for leaks before setting in sinks and toilets. Saves you ripping things out if something’s off. And finally, always leave the protective film on fixtures until every messy job is finished—especially if you’re doing your own bathroom renovation.
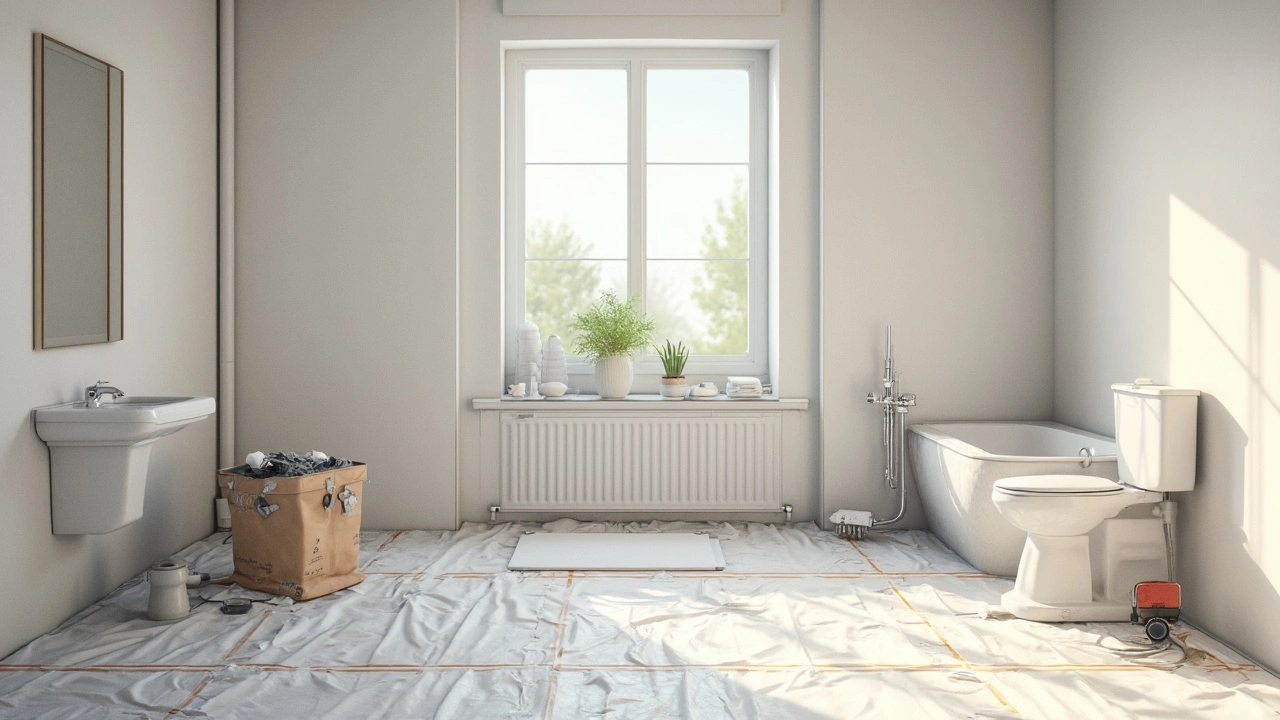
Final Touches and Troubleshooting
This is where your hard work pays off. You're almost there, but it's easy to drop the ball at the finish line. Do a detailed walkthrough before you celebrate. Double-check for leaks, loose fixtures, squeaky doors, or any rough edges—this is the moment to catch all those little things.
Start with installing the smaller items: towel racks, toilet paper holders, mirrors, and shower screens. Make sure everything lines up and sits snug. It sounds minor, but a crooked mirror can stand out more than you think. When sealing around tubs, sinks, or the toilet, use silicone caulk, not the cheap stuff—mold-resistant types last way longer and help you avoid stains or mildew buildup.
Testing is important. Run water through every tap and flush the toilet several times. Look under the sink and behind the toilet for any sign of drips. A tiny leak can turn into a headache fast. Don't ignore a slow draining sink or tub—sometimes leftover grout or plaster gets stuck in the pipes during renovation.
Give all electrical outlets a good once-over. Make sure GFCI outlets (those with the little "reset" buttons) trip and reset as they should. Since 2014, building codes have required GFCI protection in all bathrooms for a reason—it saves lives in wet environments. Test your exhaust fan too; a properly working fan cuts humidity and helps ward off mold.
Once everything’s done, clean up dust, fingerprints, and stray bits of grout—these tend to show up on mirrors and tiles more than anywhere else. Fill in grout gaps and touch up paint if the plumber or tiler scuffed the walls.
- Line up all the fixtures for a final 'fit check'.
- Seal or re-seal joints exposed to water—better safe than sorry.
- Check floor drains for any leftover construction debris.
| Issue | Percent of Projects Affected* | Easy Fix? |
|---|---|---|
| Leaks at plumbing joints | 33% | Yes, with careful tightening or re-caulking |
| Misaligned fixtures | 21% | Usually, if caught early |
| Poorly sealed grout or caulk | 25% | Often needs reapplication |
| Electrical GFCI issues | 11% | Test and replace if needed |
*Based on survey of DIY bathroom remodelers (2024)
Remember, the bathroom renovation process isn’t done until every fixture sits tight, every seam is closed, and water flows only where it’s supposed to. Knock off this checklist, and you’ll avoid surprise repairs down the line.