So you're standing in your brand new place, staring at that blank wall thinking, “Can I actually drill into this without wrecking something?” You're definitely not the first. New build walls look tough, but they hide all sorts of surprises.
Most new builds use plasterboard (also known as drywall) over either timber studs or metal frames. Behind that smooth finish could be electrical cables, water pipes, or even weak spots if the builder skimped on quality. The cost of drilling in the wrong spot? At best, you get a hole you need to patch. At worst, you hit a live wire or burst a pipe—hello chaos, goodbye security deposit.
- What's Inside New Build Walls?
- Hidden Dangers: Cables, Pipes and More
- Safe Drilling Techniques
- Best Drills, Bits, and Wall Fixings
What's Inside New Build Walls?
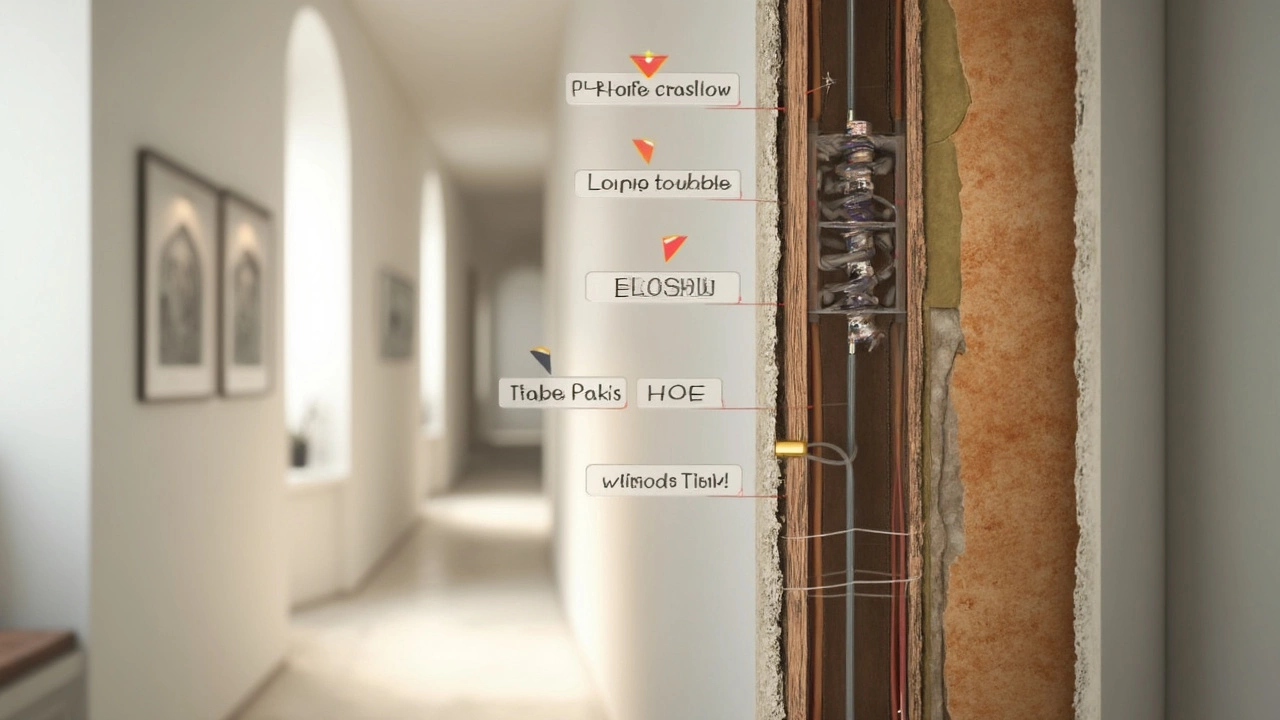
When you move into a new build, the walls look smooth, sturdy, and clean. But what's really going on under that surface? Most new build homes in the UK use plasterboard, which is basically panels of gypsum sandwiched between paper, fixed over a framework. That framework could be timber studs—pretty common for partition walls—or metal studs in some modern designs. If you're dealing with an outside wall, you might have breeze blocks or even insulated stud cavities behind the board.
Now, the big thing to remember with drilling is that there’s more than just plasterboard in your way. Most new builds have loads of cables and pipes running behind the scenes. You’ll find electrical wires about 150mm down from the ceiling or around sockets and switches, because that's the 'safe zone' for wiring in UK regulations. If your home's got fancy appliances, USB plugs, or smart heating, expect extra wires in even more tricky places.
Water pipes are often hidden too. Central heating, kitchen, and bathroom walls can have plastic or copper pipes just behind the board. Builders sometimes place them right next to the surface to save costs. So even if the wall sounds hollow, you could still hit something expensive.
Here's a quick breakdown of what might be inside a typical new build wall:
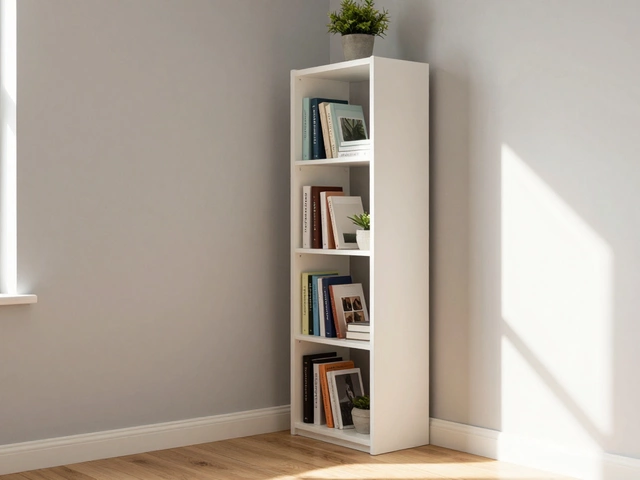
- Plasterboard (drywall) finish
- Timber or metal studs for support
- Electrical cables—often in safe zones running vertically or horizontally from sockets and switches
- Water or heating pipes (especially near kitchens and bathrooms)
- Insulation, some with foil-faced boards or mineral wool to meet energy standards
Knowing the makeup of the wall is the first step. Before you pick up a drill, you should have a pretty good idea of what’s hiding behind that perfect surface.
Hidden Dangers: Cables, Pipes and More
Drilling into new build walls sounds simple… until you hit something you wish you hadn’t. The big problem? Modern houses pack a lot of hidden stuff right behind that plasterboard. You’ve got electrical cables for sockets and lights, water pipes running everywhere, and sometimes even gas lines sticking tight to the framing. If you mess with these by accident, you could end up with a big repair job, a safety hazard, or worse.
Here’s a quick look at what could be lurking behind:
- Electrical cables: Usually run up from the floor to sockets, sometimes across studs to switches and lights.
- Water pipes: May run vertically but sometimes sneak horizontally if there's a bathroom or kitchen nearby.
- Central heating pipes: Common in UK builds, running just behind the plasterboard to each radiator.
- Data or TV cables: Not as risky, but still a pain to patch if you hit one.
UK building regulations say that cables need to be at least 50mm from the wall surface or inside an armored sheath if they’re shallower—and most builders do follow this, but you can never assume. Pipes might be even closer, especially plastic plumbing.
Here’s what the Institute of Engineering and Technology (IET) says:
“Cables concealed in a wall or partition must be installed in a safe zone or protected by earthed metallic covering. Even then, using a cable detector before drilling is a no-brainer.”
Some real-world stats from a home repair survey:
| Issue | % of Accidental Drills |
|---|---|
| Electrical cable hit | 32% |
| Water pipe hit | 18% |
| Gas pipe hit | 2% |
| TV/data cable hit | 12% |
So what’s the smart move? Always use a cable and pipe detector before you even mark a spot. Seriously, those gadgets have saved more rookie DIYers than you’d believe. And study the rooms on both sides of a wall—if there’s a bathroom on the other side, assume pipes are about.
Safe Drilling Techniques
Before you go charging at your new build wall with a drill, slow down—it pays to be careful. New build plasterboard isn't as forgiving as a solid brick wall. Here's what you need to watch out for, and how to keep your walls (and safety deposit) intact.
The golden rule: always check what's lurking behind your wall. A standard stud finder is cheap, but there are also multi-scanners that pick up on cables and pipes. Skip this, and you could be calling an electrician or plumber before the paint's even dry.
Curtis Allan, a certified building inspector, says, "Always scan the area before drilling. Even in new builds, it's not uncommon for homeowners to hit shallow electrical runs or pipework—one inch off can mean disaster."
Once you've cleared the area, you want to drill into something solid—not just the plasterboard. The best grip comes from screwing into a timber stud. If you're mounting something heavy and can't find a stud, use proper wall anchors made for plasterboard. Regular rawl plugs just don't cut it for drywall; they’ll pull out with a bit of tug.
Here's a quick step-by-step to stay safe:
- Scan the wall with a multi-scanner to check for studs, pipes, and cables.
- Mark the safe drilling spot with painter’s tape. This also helps stop the plaster from cracking as you drill.
- Use a small drill bit at first to make a pilot hole. If you hit resistance, stop immediately and scan again.
- Once the pilot hole is clear, switch to the correct size bit for your anchor or fixing.
- Mount your anchor, then screw in your fixture.
If you missed your stud, make sure to use a plasterboard fixing like a toggle or a metal self-drilling anchor. Anything heavier than a small photo frame will need extra support.
Just so you get an idea of what kind of weight common plasterboard fixings can hold, check out this quick table:
| Type of Fixing | Max Weight (kg) |
|---|---|
| Standard wall plug | Up to 6 |
| Plastic expansion anchor | Up to 10 |
| Metal self-drilling anchor | Up to 15 |
| Spring toggle | Up to 20 |
| Screwed directly into stud (drilling keyword) | 25+ |
Never rush when working with new build walls. A few extra minutes checking what’s behind and using the right fixings makes all the difference to the job—and stops you from wrecking your new pad.
Best Drills, Bits, and Wall Fixings
Choosing the right gear for drilling into new build walls can make all the difference. It’s not complicated, but you don’t want to grab the first tool you see and hope for the best. Let’s unpack what actually works and why.
Drill choice comes down to power and control. For standard plasterboard walls, a regular cordless drill is usually enough. If there’s masonry behind the plasterboard, like in dot-and-dab construction, you’ll need a hammer drill. Avoid going overboard—overpowered tools might damage fragile surfaces.
Bit selection gets tricky. For plasterboard, go with sharp wood or general-purpose bits—sizes 5-8mm usually cover typical DIY jobs. Hitting brick requires masonry bits. Don’t use metal bits unless you’re, well, drilling metal; they wear out fast on tougher materials.
Getting a solid fix matters just as much as the hole. Plasterboard alone won’t hold much weight. Standard wall plugs work fine if you’ve hit a stud, but if you’re fixing something to just plasterboard, use special fixings called plasterboard anchors or toggles. They spread the load and keep things from tearing straight out when you hang a shelf or TV bracket. Here’s how different options stack up for common wall types:
| Wall Type | Recommended Drill | Best Bit | Ideal Fixing |
|---|---|---|---|
| Plasterboard (timber stud) | Cordless drill | Wood/general-purpose | Drywall screw into stud |
| Plasterboard (no stud) | Cordless drill | Wood/general-purpose | Toggle/anchor fixing |
| Dot-and-dab with brick | Hammer drill | Masonry | Masonry plug & screw | Concrete | Hammer drill | Masonry | Heavy-duty anchor |
One more thing—always double check what’s behind the wall with a stud and cable detector before you drill. Sounds obvious, but even pros get caught out sometimes.
"The number one mistake people make? Using the wrong wall plug for their wall type. It’s an easy fix, but saves a lot of headaches down the line," says Sam Lewis, a senior technician at Screwfix (quoted in DIY Weekly, March 2024).
Some brands stand out for quality: Dewalt and Makita drills are long-lasting, Erbauer bits are decent value, and GripIt fixings work well with heavier loads on drywall. Spending a little more upfront beats dealing with wrecked walls later.